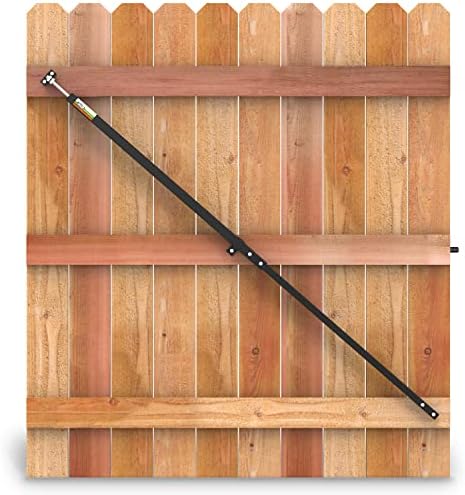
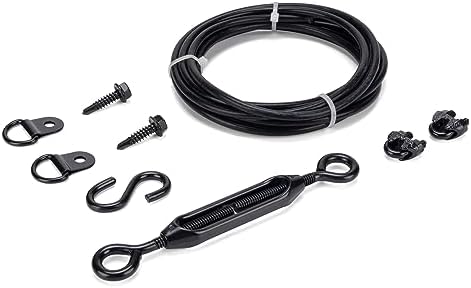
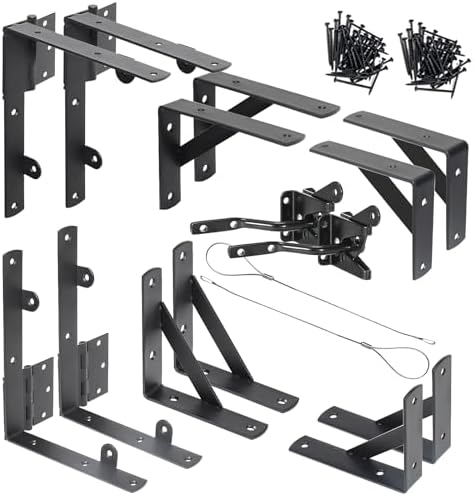
A sagging gate drags on the ground, won’t latch, and looks neglected. The fix is almost always a diagonal brace, a turnbuckle kit, or new hinges — and it takes under an hour.
STEP 1: Diagnose the Cause of the Sag
Open and close the gate and observe where it drags or gaps. Check the hinges — if they are loose or bent, the gate is not being supported. Check the gate frame — if the diagonal brace is missing, broken, or on the wrong angle, the gate has nothing preventing it from sagging into a parallelogram.
STEP 2: Tighten or Replace the Hinges
With that foundation in place, if the hinge screws are stripped, replace them with longer screws (3-inch lag screws) that bite into solid wood. If the hinges are bent, replace them with heavy-duty strap hinges or T-hinges rated for your gate’s weight. Use three hinges instead of two on heavy gates.
STEP 3: Install a Diagonal Brace
Now that the first pieces are in place, a proper gate brace runs from the bottom of the hinge side to the top of the latch side — forming a triangle that pushes the latch side up. Cut a 2×4 to fit diagonally, notch the ends to sit flush against the frame, and screw it in with 3-inch exterior screws.
STEP 4: Install a Turnbuckle Anti-Sag Kit
Now that the heavy lifting is done, for an easier fix, install a turnbuckle and cable kit. Run the cable from the top of the hinge side to the bottom of the latch side (opposite direction from a wood brace). Tighten the turnbuckle until the gate lifts to the correct position. The turnbuckle is adjustable so you can fine-tune the lift.
STEP 5: Test the Gate and Adjust
Finally, to make everything sustainable, open and close the gate several times. It should swing freely without dragging and the latch should catch cleanly. Adjust the turnbuckle or brace as needed. If the gatepost itself is leaning, reinforce it with concrete before any gate repair — a leaning post will undo any brace work.
PRO TIPS
Q: How do I fix a gate that drags on the ground?
A: A turnbuckle anti-sag kit is the fastest and most adjustable fix — it costs about $15, installs in 20 minutes with a drill, and lets you dial in exactly how much lift the gate needs. As the gate ages and shifts, you simply adjust the turnbuckle.
Q: Which direction does a gate brace go?
A: Remember the brace direction: wood brace goes from bottom-hinge to top-latch (pushing up). Cable brace goes from top-hinge to bottom-latch (pulling up). Getting the direction wrong makes the sag worse, not better.
Q: What is a turnbuckle anti-sag kit for a gate?
A: If your gate is too heavy for its hinges, no brace will fix the sag permanently. Upgrade to heavy-duty hinges rated for at least 1.5 times the gate’s weight. Gate hinges are inexpensive but wildly under-spec on most prefab gates.
SUPPLIES NEEDED
Turnbuckle anti-sag kit or 2×4 for diagonal brace
3-inch exterior screws or lag screws
Heavy-duty gate hinges (if replacing)
Drill and drill bits
Level
Tape measure
Saw (if cutting brace)
Products from Amazon

This site contains affiliate links. As an Amazon Associate I earn from qualifying purchases.