Up to 25% of a home’s heat escapes through a poorly insulated attic. Adding insulation is one of the highest-return energy upgrades you can make — most homeowners recoup the cost in lower energy bills within 2-3 years.
STEP 1: Determine Your Current Insulation Level
Go into the attic and measure the depth of existing insulation. If it is less than 10-14 inches of fiberglass batts or loose-fill, you need more. The Department of Energy recommends R-38 to R-60 for most attics depending on climate zone — check energystar.gov for your region’s recommendation.
STEP 2: Seal Air Leaks Before Adding Insulation
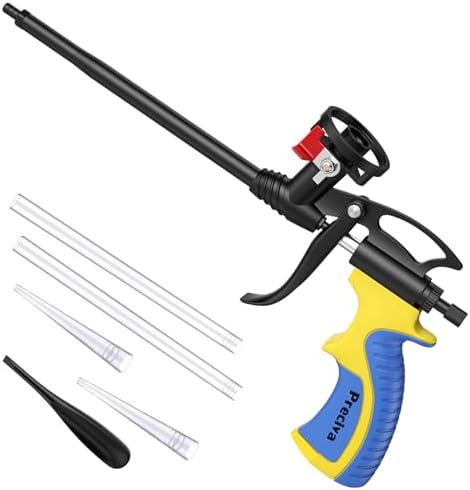
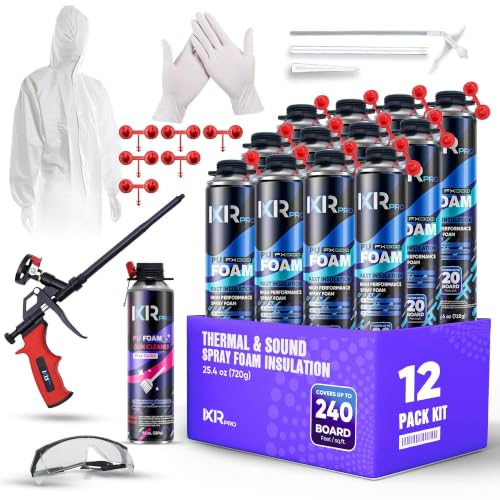
Once you have that handled, insulation slows heat transfer but does not stop air movement. Before adding insulation, seal gaps around plumbing pipes, electrical wires, recessed lights, duct boots, and the attic hatch with expanding foam or caulk. This step alone can cut energy loss by 20%.
STEP 3: Choose Your Insulation Type
This is where things start coming together. fiberglass batts are the easiest for DIY — you roll them out between joists. Blown-in cellulose or fiberglass fills gaps and irregular spaces more completely and is ideal for adding on top of existing insulation. Most home centers rent blowing machines free with purchase of a minimum number of bags.
STEP 4: Install the Insulation
With the core work behind you, for batts, lay them perpendicular to the ceiling joists on top of any existing insulation — do not compress the old insulation, as compressed insulation loses R-value. For blown-in, start at the far wall and work toward the attic access, blowing to the recommended depth marked on rulers placed throughout the attic.
STEP 5: Protect Important Areas
To bring everything together and finish strong, do not cover recessed lights unless they are IC-rated (insulation contact rated). Keep insulation away from the eaves to maintain soffit ventilation — install baffles in each rafter bay to keep airflow open. Do not block exhaust fan vents or flue pipes.
PRO TIPS
Q: How much insulation should be in my attic?
A: Seal air leaks before insulating — this is the step most DIYers skip and it is the most impactful. A can of expanding foam costs $5 and sealing the top plates, pipe penetrations, and wire holes can save more energy than the insulation itself.
Q: Should I seal air leaks before adding attic insulation?
A: Wear long sleeves, gloves, safety glasses, and an N95 respirator when handling fiberglass insulation. The glass fibers irritate skin, eyes, and lungs. Cellulose blown-in is less irritating but still dusty — a mask is essential either way.
Q: Is blown-in insulation cheaper than fiberglass batts?
A: Blown-in insulation with a free rental blower from the home center is often cheaper per square foot than fiberglass batts and fills around obstacles much more effectively. Two people can insulate an average attic in 2-3 hours using the blower.
SUPPLIES NEEDED
Fiberglass batts or blown-in insulation bags
Expanding foam sealant
Caulk gun and fire-rated caulk
Soffit vent baffles
Utility knife
Straightedge or depth rulers
N95 respirator
Safety glasses and gloves
Work light
Products from Amazon

This site contains affiliate links. As an Amazon Associate I earn from qualifying purchases.