Laminate flooring is one of the most popular DIY projects because the click-lock planks snap together without glue or nails. A room can be transformed in a weekend with no previous flooring experience.
STEP 1: Prepare the Subfloor and Acclimate the Planks
The subfloor must be clean, dry, flat, and level within 3/16 inch per 10 feet. Fill low spots with floor leveling compound and sand down high spots. Bring the laminate planks into the room 48 hours before installation so they acclimate to the room’s temperature and humidity.
STEP 2: Install the Underlayment
Now that you have the starting point, roll out foam underlayment over the entire subfloor, taping seams with the included tape. Underlayment cushions the floor, reduces noise, and provides a moisture barrier. Do not overlap sheets — butt them edge to edge.
STEP 3: Lay the First Row Against the Longest Wall
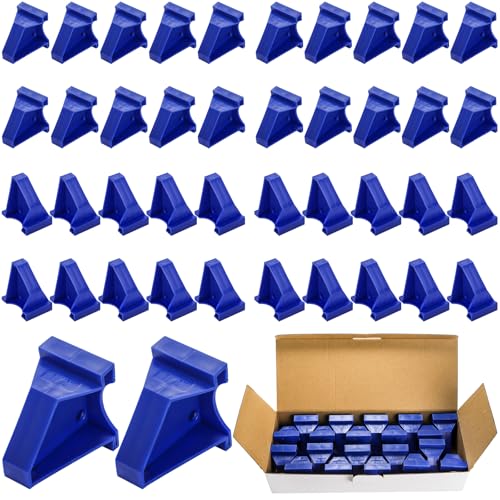
At this point, you are ready to start along the longest, most visible wall. Place spacers (1/4 to 3/8 inch) between the planks and the wall to allow for expansion. Click the short ends of the planks together by angling and pressing down. Cut the last plank in the row to fit using a miter saw or laminate cutter.
STEP 4: Continue Row by Row With Staggered Joints
As you continue building on your progress, start each new row with the cut-off piece from the previous row, as long as it is at least 12 inches long. This staggers the joints for a natural look and structural stability. Angle the long edge of the new plank into the previous row and press down until it clicks flat.
STEP 5: Install Transitions and Baseboards
The last piece of the puzzle is after the floor is complete, remove the spacers and install transition strips at doorways and where the laminate meets different flooring. Reinstall or replace baseboards and quarter round to cover the expansion gap along the walls. Never nail baseboards through the laminate — it must float freely.
PRO TIPS
Q: Can I install laminate flooring over existing flooring?
A: Always stagger end joints by at least 12 inches between adjacent rows. Rows with aligned joints create a visible grid pattern that looks cheap and is structurally weaker. Random staggering looks natural and professional.
Q: How much extra laminate flooring should I buy for waste?
A: Buy 10% more flooring than the square footage of your room to account for cuts, waste, and the occasional damaged plank. Running short mid-project and finding the same lot number unavailable is a common and frustrating problem.
Q: What happens if I don’t leave an expansion gap for laminate?
A: The expansion gap around the perimeter is not optional. Laminate expands and contracts with humidity, and without the gap, the floor buckles and lifts in the center. This is the most common DIY laminate failure and it is entirely preventable.
SUPPLIES NEEDED
Laminate flooring planks (plus 10% extra)
Foam underlayment
Expansion spacers
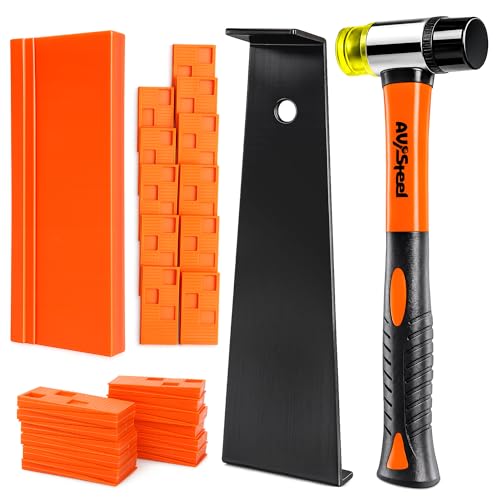
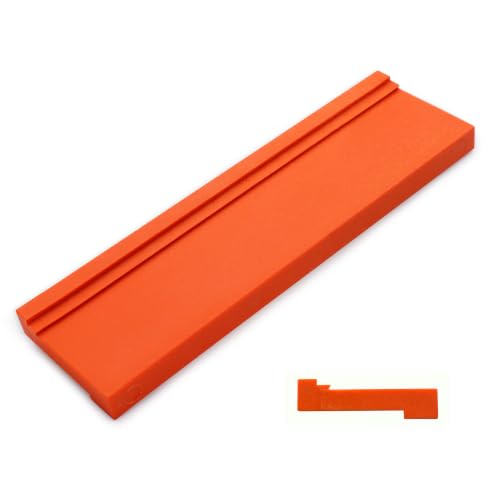
Tapping block and pull bar
Miter saw or laminate cutter
Tape measure and pencil
Utility knife
Transition strips
Products from Amazon

This site contains affiliate links. As an Amazon Associate I earn from qualifying purchases.