Replacing worn, damaged, or outdated baseboards gives a room a clean, finished look. Baseboards are inexpensive, widely available in various profiles, and require only a miter saw and a few basic tools.
STEP 1: Remove the Old Baseboards
Score the paint line along the top of the baseboard with a utility knife. Insert a thin pry bar behind the baseboard and gently work it away from the wall, placing a scrap piece of wood behind the pry bar to protect the drywall. Remove nails from the wall with pliers.
STEP 2: Measure and Cut New Baseboards
Now that you have the starting point, measure each wall section. For straight runs, cut square ends. For inside corners, butt one piece square into the corner and cope the adjoining piece (or miter both at 45 degrees). For outside corners, cut opposing 45-degree miters. Test fit before nailing.
STEP 3: Nail Baseboards Into Wall Studs
With the basics covered, it is time to position the baseboard against the wall and press it down firmly to the floor. Drive 2-inch finish nails or brads through the baseboard into the studs — one nail near the top and one near the bottom at each stud location. Use a stud finder to mark stud positions before nailing.
STEP 4: Join Long Runs With Scarf Joints
To strengthen your results even more, if a wall is longer than your baseboard stock, join two pieces with a 45-degree scarf joint (overlapping miters) located at a stud. Glue and nail through the joint. A scarf joint is far less visible than a square butt joint.
STEP 5: Fill, Caulk, and Paint
With everything else in place, the final step is set nail heads below the surface with a nail set. Fill holes with spackling, let dry, and sand flush. Caulk the top edge where the baseboard meets the wall. Prime and paint with two coats of semi-gloss for a durable, washable finish.
PRO TIPS
Q: Should I pre-paint baseboards before installing them?
A: Pre-paint baseboards before installation — apply primer and the first coat while the boards are lying flat on sawhorses. You only need to do touch-up and the final coat after installation. This cuts painting time in half and produces a smoother finish.
Q: How do I hide gaps between baseboards and wavy walls?
A: If your walls are not perfectly straight (and they rarely are), flex the baseboard against the wall and nail it at each stud. Then caulk the gap along the top edge. Caulk hides up to a 1/4 inch gap and makes wavy walls look straight.
Q: How much extra baseboard should I buy for waste?
A: Buy 10-15% more baseboard than your total wall measurement to account for cutting waste, miter mistakes, and natural board defects. Running one foot short means another trip to the store.
SUPPLIES NEEDED
Pre-primed baseboard trim
Miter saw
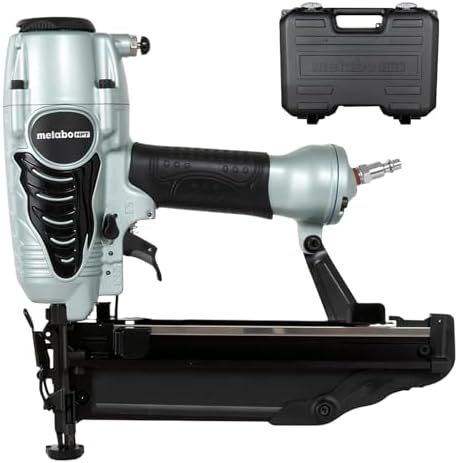
Brad nailer or finish nails
Hammer and nail set
Pry bar
Stud finder
Wood filler
Paintable caulk
Primer and semi-gloss paint
Tape measure and pencil
Products from Amazon

This site contains affiliate links. As an Amazon Associate I earn from qualifying purchases.