A dripping faucet wastes up to 3,000 gallons of water per year and drives up your water bill. The fix usually takes 20 minutes and costs under $5 in parts.
STEP 1: Turn Off the Water Supply
Close the shut-off valves under the sink by turning them clockwise. Open the faucet to release remaining pressure and confirm the water is off. Plug the drain with a rag so you do not lose small parts down the pipe.
STEP 2: Remove the Faucet Handle
From here, the process moves forward. pop off the decorative cap on the handle with a flathead screwdriver to expose the screw underneath. Remove the screw and pull the handle straight up. Some handles require an Allen wrench instead of a Phillips screwdriver.
STEP 3: Replace the Cartridge, Washer, or O-Ring
This is where things start coming together. for cartridge faucets, pull the cartridge straight out and replace it with an identical one. For compression faucets, unscrew the packing nut, remove the stem, and replace the rubber seat washer at the bottom. Replace any worn O-rings while you have it apart.
STEP 4: Reassemble in Reverse Order
Almost there — this step refines the details. insert the new cartridge or reattach the stem with the new washer. Hand-tighten the packing nut, then snug it a quarter turn with pliers — do not overtighten. Replace the handle and decorative cap.
STEP 5: Test for Leaks
The last piece of the puzzle is turn the shut-off valves back on slowly. Run the faucet for 30 seconds, then close it. Watch the spout and all connections for drips. If the drip continues, the valve seat may be damaged and needs resurfacing with a seat grinding tool or full faucet replacement.
PRO TIPS
Q: How do I find which side of a faucet is leaking?
A: Take the old cartridge or washer to the hardware store to find an exact match. Faucet parts vary by brand and model, and a washer that is even slightly wrong will not seal properly and the drip will return within days.
Q: What parts do I need to fix a dripping faucet?
A: If your faucet has two handles, test which side drips by turning off one shut-off valve at a time. This tells you whether the hot or cold side needs repair so you only disassemble the handle that is actually leaking.
Q: How do I remember the order of faucet parts during reassembly?
A: Line up all removed parts on the counter in the exact order you took them out. This makes reassembly foolproof. Take a photo with your phone before removing anything as an extra backup.
SUPPLIES NEEDED
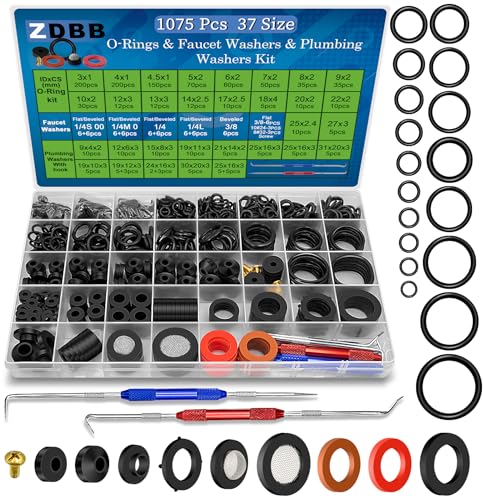
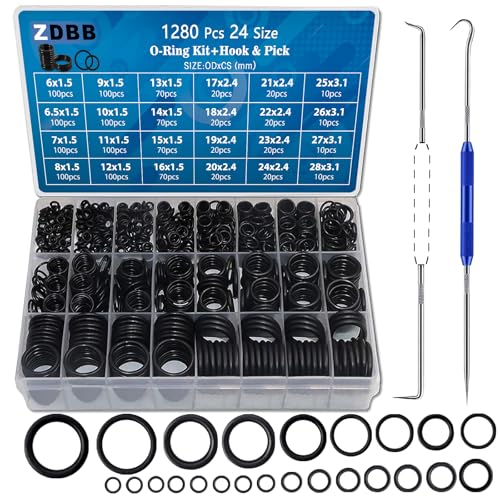
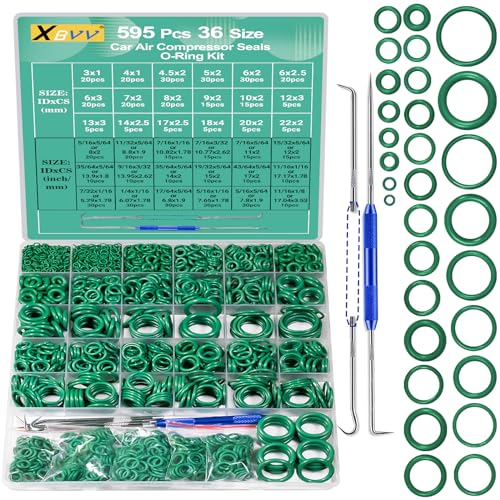
Replacement cartridge, washer, or O-ring kit
Adjustable wrench
Phillips and flathead screwdrivers
Allen wrench set
Plumber’s grease
Rags and bucket
Products from Amazon

This site contains affiliate links. As an Amazon Associate I earn from qualifying purchases.