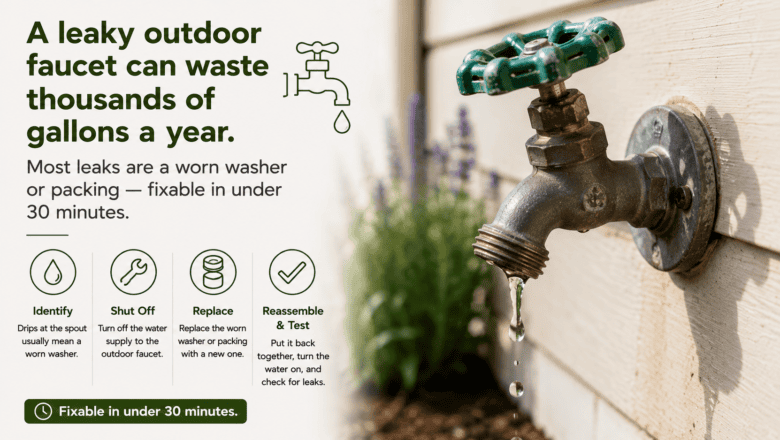
A leaking outdoor faucet — also called a hose bib or spigot — wastes hundreds of gallons of water per month and can cause foundation damage, attract pests, and create icy walkways in winter. Fixing a dripping outdoor faucet usually requires only replacing a rubber washer or packing nut, taking about 20 minutes with basic tools. Learning how to fix an outdoor faucet drip yourself saves the $100-200 a plumber would charge for a repair that costs under $5 in parts.
STEP 1: Turn Off the Water Supply to the Outdoor Faucet
Locate the shutoff valve for the outdoor faucet — it is usually inside the house in the basement or crawlspace on the pipe leading to the exterior wall. Turn it clockwise to shut off water flow. Open the outdoor faucet to drain remaining water from the line.
STEP 2: Remove the Faucet Handle and Packing Nut
With the water off and drained, remove the screw on the faucet handle (often hidden under a decorative cap) and pull the handle off. Use an adjustable wrench to unscrew the packing nut — the large nut directly behind the handle. Pull out the valve stem assembly.
STEP 3: Inspect and Replace the Washer at the End of the Stem
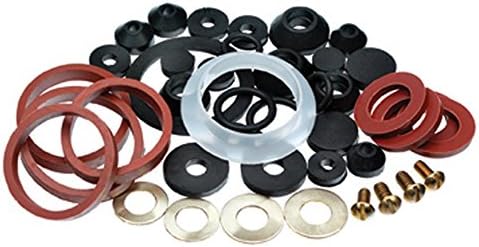
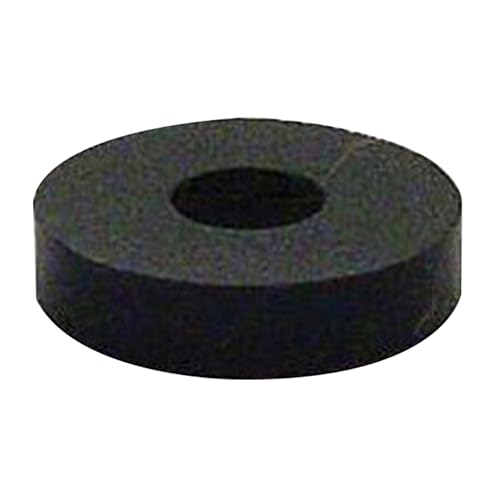
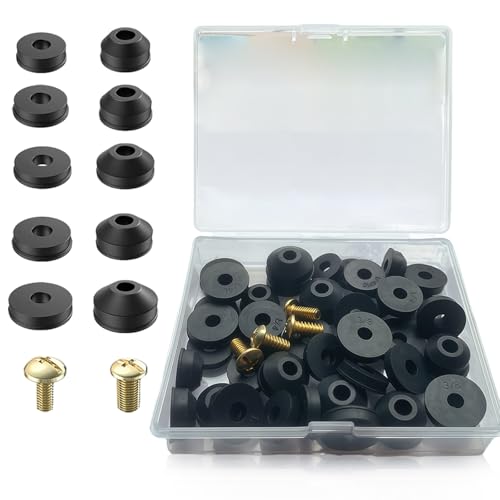
Moving forward with confidence, at the bottom of the valve stem, you will find a small rubber washer held in place by a brass screw. This washer is the most common cause of outdoor faucet drips — it hardens, cracks, or wears flat over years of use. Remove the screw, take the old washer to the hardware store to match the size, and install the new one.
STEP 4: Replace the Packing Material If the Leak Is Around the Handle
Almost there — this step refines the details. if the faucet leaks around the handle (not from the spout), the packing material behind the packing nut has worn out. Replace it with a new rubber O-ring or graphite packing rope wrapped around the valve stem behind the packing nut. This creates the seal that prevents water from escaping around the stem.
STEP 5: Reassemble, Turn On the Water, and Test
To bring everything together and finish strong, insert the valve stem back into the faucet body, tighten the packing nut, replace the handle, and secure the handle screw. Turn the water supply back on inside the house. Open and close the faucet several times and check for drips. A properly replaced washer stops the drip completely and should last 5-10 years before needing replacement again.
PRO TIPS
Q: Why does my outdoor faucet drip even when it is turned off tightly?
A: The rubber washer at the end of the valve stem is worn out. Over years of use, the washer compresses, cracks, or hardens and can no longer create a watertight seal against the valve seat. Replacing this $0.50 washer stops the drip. Over-tightening the handle to stop the drip only damages the washer and seat further.
Q: Should I replace the entire outdoor faucet or just repair it?
A: If the faucet body is not cracked or corroded, a washer and packing replacement is all you need. If the faucet body is corroded, cracked, or the valve seat is damaged beyond a washer fix, replacing the entire hose bib is a better long-term solution — $15-30 for the fixture plus an hour of installation.
Q: How do I prevent my outdoor faucet from freezing and bursting in winter?
A: Before the first freeze, disconnect all hoses from outdoor faucets — a connected hose traps water that freezes and bursts the pipe. Turn off the interior shutoff valve and open the outdoor faucet to drain the line completely. Install an insulated faucet cover ($3-5) over each outdoor faucet for additional freeze protection.
SUPPLIES NEEDED
Adjustable wrench
Screwdriver (Phillips and flathead)
Replacement rubber washer (bring old one for size matching)
Replacement O-ring or packing material
Teflon tape
Bucket for residual water
Products from Amazon

This site contains affiliate links. As an Amazon Associate I earn from qualifying purchases.
Be sure to research and figure out if these will be the right gaskets or o-rings for your project.