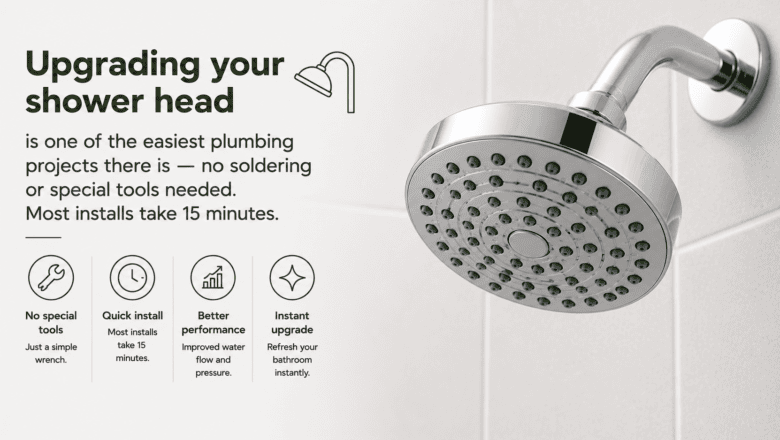
Replacing a shower head is one of the simplest bathroom upgrades you can make — it requires no tools beyond an adjustable wrench, no plumbing knowledge, and takes under 10 minutes. Whether you are upgrading from a basic builder-grade head to a rain shower, a handheld sprayer, or a water-saving model, the installation process is identical because virtually all shower heads use the same standard 1/2-inch threaded pipe connection.
STEP 1: Remove the Old Shower Head
Grip the old shower head or its connecting nut and turn counterclockwise to unscrew it from the shower arm (the pipe coming out of the wall). If it is stuck from mineral buildup, wrap a cloth around the connection to protect the finish and use an adjustable wrench for leverage. Do not grip or twist the shower arm itself — forcing it can break the connection inside the wall.
STEP 2: Clean the Shower Arm Threads
With the old head removed, clean the exposed threads on the shower arm. Remove old Teflon tape, plumber’s putty, and mineral deposits. An old toothbrush and white vinegar work well for removing crusite buildup. Clean threads ensure a proper seal with the new shower head.
STEP 3: Apply Fresh Teflon Tape to the Threads
With the basics covered, it is time to wrap 3-5 layers of Teflon (plumber’s) tape clockwise around the shower arm threads. The tape fills microscopic gaps between the threads and prevents leaks. Wrapping clockwise ensures the tape tightens rather than unwinds as you screw on the new shower head.
STEP 4: Screw On the New Shower Head by Hand
Taking this a step further, thread the new shower head onto the shower arm by turning clockwise, hand-tight. Then use a wrench to tighten an additional quarter to half turn — snug but not forced. Over-tightening can crack the fitting. Wrap the wrench jaws with a cloth to avoid scratching the new finish.
STEP 5: Turn On the Water and Check for Leaks
To wrap up and ensure lasting results, turn the shower on full and inspect the connection for leaks. If water drips from the connection point, turn off the water, remove the head, add another layer of Teflon tape, and reinstall. A properly taped and tightened connection should produce zero drips.
PRO TIPS
Q: Do I need a plumber to install a new shower head?
A: No — shower head replacement is a true 10-minute DIY project that requires only an adjustable wrench and Teflon tape. The connection is a standard threaded fitting that unscrews and screws on. If you can screw in a light bulb, you can replace a shower head.
Q: What type of shower head gives the best water pressure?
A: High-pressure shower heads with smaller, concentrated nozzle holes produce a stronger spray than wide rain-style heads that spread water over a larger area. If water pressure is your priority, look for heads specifically labeled as high-pressure or pressure-boosting. If your home has low water pressure system-wide, a shower head upgrade alone cannot fix the underlying pressure issue.
Q: Do water-saving shower heads actually feel different?
A: Modern water-saving shower heads use 2.0 gallons per minute or less compared to the standard 2.5 gallons per minute, and many use air-injection technology that maintains the feeling of full, strong water flow while using 20-40 percent less water. The difference in feel is minimal to unnoticeable while the water savings are meaningful over a year of daily showers.
SUPPLIES NEEDED
New shower head
Adjustable wrench
Teflon (plumber’s) tape
Cloth to protect finishes
Old toothbrush and vinegar for cleaning threads
10 minutes of time
Products from Amazon

This site contains affiliate links. As an Amazon Associate I earn from qualifying purchases.


