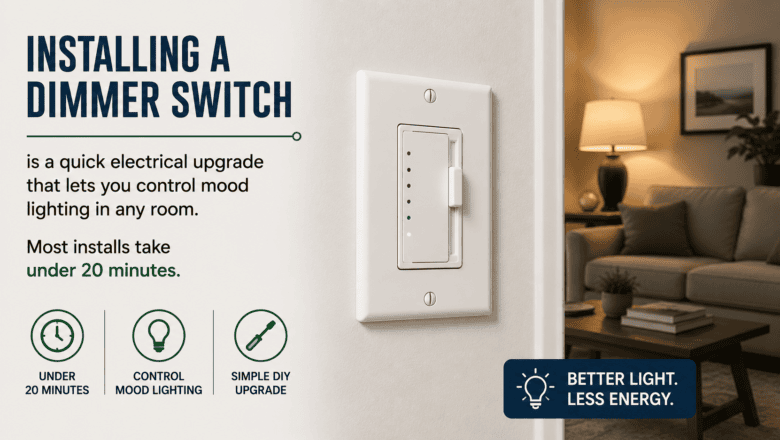
Installing a dimmer switch lets you control light levels for ambiance, reduce energy consumption, and extend bulb life — all for $15-25 and about 20 minutes of work. The installation is nearly identical to replacing a standard light switch, with one additional step of connecting the dimmer’s wire leads instead of attaching wires to screw terminals. Understanding how to install a dimmer switch means selecting the right type for your bulbs and following the same electrical safety rules as any switch replacement.
STEP 1: Turn Off the Power and Verify With a Voltage Tester
As with any electrical work, turn off the breaker controlling the light circuit at the breaker panel. Flip the existing switch to verify the light does not respond. For complete confidence, remove the switch cover plate and hold a non-contact voltage tester near the wires — the tester should not indicate any voltage before you proceed.
STEP 2: Choose the Right Dimmer for Your Bulbs
With your first step complete, before removing the old switch, confirm your dimmer is compatible with your light bulbs. Standard incandescent dimmers work with incandescent and halogen bulbs. LED and CFL bulbs require dimmers specifically labeled LED-compatible or CFL/LED. Using the wrong dimmer with LED bulbs causes flickering, buzzing, and premature bulb failure.
STEP 3: Remove the Old Switch and Photograph the Wiring
Moving forward with confidence, remove the cover plate and the two screws holding the switch in the electrical box. Pull the switch out gently without disconnecting wires and take a clear photo of the wiring for reference. Then disconnect the wires from the old switch by loosening the terminal screws.
STEP 4: Connect the Dimmer Switch Wires
Taking this a step further, most dimmer switches have wire leads instead of screw terminals. Connect the dimmer’s black leads to the two black (hot) wires from the box using the included wire nuts — twist the bare wire ends together clockwise, then screw the wire nut on firmly. Connect the dimmer’s green wire to the ground wire (bare copper or green). Tuck all connections into the box.
STEP 5: Mount the Dimmer, Restore Power, and Test
The finishing touch makes all the difference. screw the dimmer into the electrical box and attach the cover plate (dimmer plates are wider than standard switch plates — a matching plate is usually included). Turn the breaker back on and test the dimmer through its full range — the lights should smoothly transition from full brightness to a low glow without flickering or buzzing.
PRO TIPS
Q: Can I use a regular dimmer switch with LED light bulbs?
A: No — standard dimmers are designed for incandescent bulbs and cause LED bulbs to flicker, buzz, or not dim smoothly. You need a dimmer specifically labeled LED-compatible or CFL/LED-compatible. Additionally, the LED bulbs themselves must be labeled as dimmable — non-dimmable LED bulbs will not work with any dimmer switch.
Q: Why do my lights flicker or buzz when I use the dimmer?
A: Flickering and buzzing usually mean the dimmer is incompatible with the bulbs. Ensure both the dimmer and the bulbs are LED-compatible and dimmable. If both are compatible, the issue may be that you have too few bulbs on the circuit — some dimmers have a minimum wattage requirement. Adding another bulb or trying a different dimmer brand often resolves compatibility issues.
Q: Can I install a dimmer switch on a three-way circuit where two switches control one light?
A: Yes, but you need a three-way dimmer switch, which is wired differently than a single-pole dimmer. Only one of the two switches in a three-way circuit is replaced with the dimmer — the other remains a standard three-way switch. The dimmer must be installed in the specific switch position that has the common wire, which your wiring photo will help identify.
SUPPLIES NEEDED
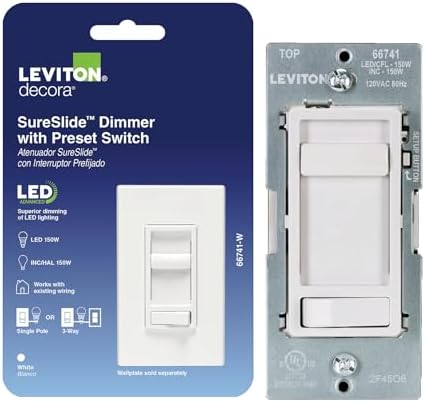
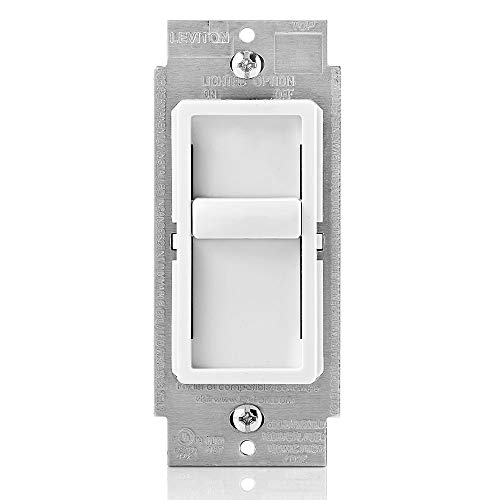
LED-compatible dimmer switch ($15-25)
Non-contact voltage tester
Screwdriver (flathead and Phillips)
Wire nuts (usually included with dimmer)
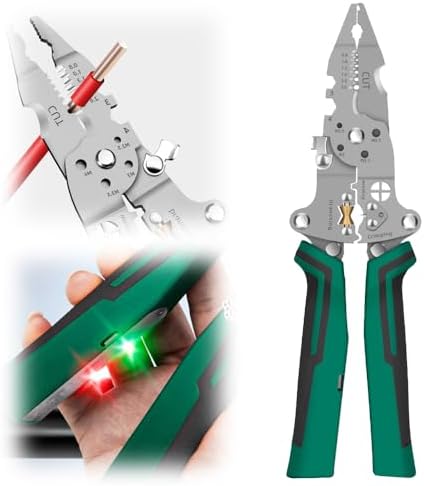
Wire stripper (if wires need trimming)
Matching dimmer cover plate (usually included)
Products from Amazon

This site contains affiliate links. As an Amazon Associate I earn from qualifying purchases.