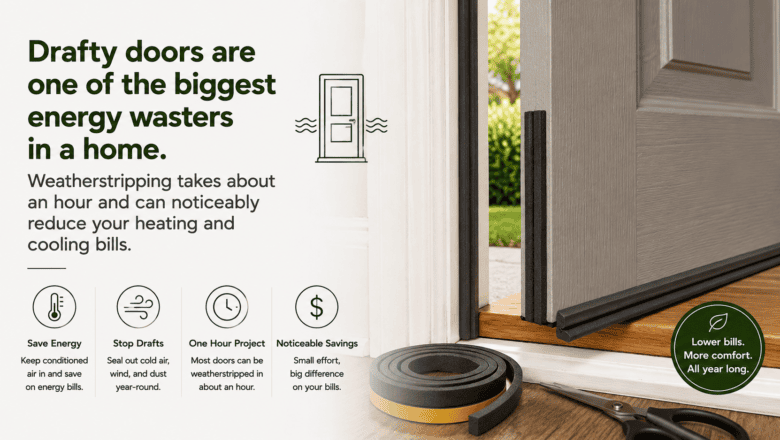
Weatherstripping a drafty door is one of the cheapest and most effective energy upgrades you can make — a $10-15 roll of weatherstrip material installed in 30 minutes can reduce heating and cooling costs by 10-15 percent by stopping the constant air exchange between your conditioned indoor air and the outdoor temperature. If you can feel air blowing around a closed exterior door, or see daylight through the gaps, you are paying to heat or cool the outdoors. Learning how to weatherstrip a door properly eliminates drafts, reduces energy waste, and makes your home noticeably more comfortable in every season.
STEP 1: Check Your Door for Air Leaks
Close the door and run your hand slowly around all four edges of the frame. Air leaks feel like a cool breeze in winter or warm air in summer. For a more precise test, hold a lit incense stick near the door edges — the smoke stream deflects visibly where air is leaking through gaps between the door and frame.
STEP 2: Choose the Right Type of Weatherstripping
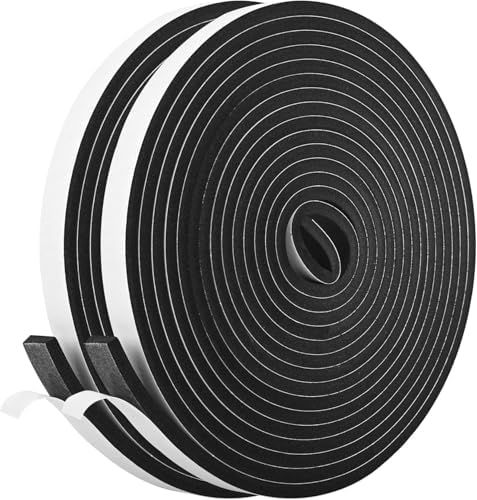
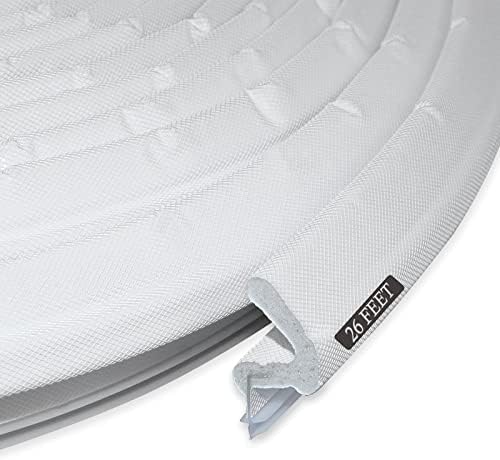
With the leak locations identified, select the appropriate material. V-strip (vinyl or metal) works best for the sides and top of the door frame. Adhesive-backed foam tape is the easiest to install for minor gaps. A door sweep or bottom seal handles the gap between the door bottom and the threshold. For most exterior doors, you will use a combination of materials for complete sealing.
STEP 3: Remove Old Weatherstripping and Clean the Surfaces
With the basics covered, it is time to peel off or pry away any existing weatherstripping from the door frame. Clean the surfaces with rubbing alcohol to remove adhesive residue, dirt, and oils that prevent new weatherstripping from bonding. A clean, dry surface is essential for adhesive-backed materials to stick permanently.
STEP 4: Install New Weatherstripping Along the Door Frame
To strengthen your results even more, measure and cut weatherstripping to fit each section of the frame — top, left side, and right side. For adhesive-backed foam or V-strip, peel the backing and press firmly into the frame so it compresses slightly when the door closes. For metal or vinyl V-strip, nail or staple into the frame with the open end of the V facing the outside. The weatherstripping should create a snug seal without making the door difficult to close.
STEP 5: Install a Door Sweep for the Bottom Gap
To bring everything together and finish strong, the bottom of the door is often the largest leak. Attach a door sweep to the inside bottom edge of the door so it just touches the threshold when the door is closed — tight enough to seal but not so tight that it drags and prevents the door from opening. Adjustable sweeps with screws allow fine-tuning the height for a perfect seal.
PRO TIPS
Q: How do I know if my door weatherstripping needs to be replaced?
A: Close the door and look for visible daylight around any edge. Place a piece of paper in the doorframe and close the door — if you can pull the paper out easily, the weatherstripping is not sealing. Other signs include noticeable drafts near the door, increased energy bills, and weatherstripping that is cracked, compressed flat, or peeling away from the frame.
Q: What is the best type of weatherstripping for an exterior door?
A: For the sides and top of the frame, V-strip (also called tension seal) is the most durable and effective — it creates a spring-loaded seal that maintains compression over years. For the bottom, an adjustable door sweep with a replaceable rubber or silicone insert handles the threshold gap. Adhesive foam tape is the easiest to install but wears out fastest and typically needs replacement every 1-2 years.
Q: How much money does weatherstripping actually save on energy bills?
A: Properly weatherstripping all exterior doors saves 10-15 percent on heating and cooling costs — typically $100-300 per year depending on your climate and energy rates. The materials cost $10-30 total and install in under an hour, making weatherstripping one of the highest return-on-investment home improvements available.
SUPPLIES NEEDED
Weatherstripping material (V-strip, foam tape, or rubber)
Door sweep for bottom seal
Measuring tape and scissors or utility knife
Rubbing alcohol for surface cleaning
Small nails or staples (for V-strip)
Incense stick or candle for leak detection
Products from Amazon

This site contains affiliate links. As an Amazon Associate I earn from qualifying purchases.