Nail pops are those small bumps or circles that appear on walls and ceilings where the drywall nail or screw has pushed outward. They are cosmetic, not structural, and easy to fix permanently.
STEP 1: Drive a New Drywall Screw Next to the Pop
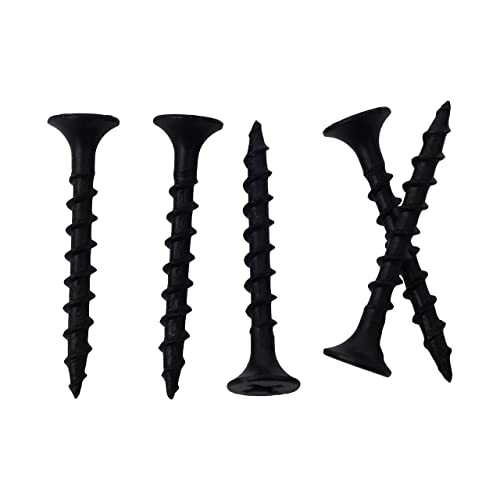
Place a 1-1/4 inch drywall screw about 1-2 inches above or below the popped nail. Drive it in until the head sits just below the surface without tearing the paper face. This new screw secures the drywall to the stud and does the actual holding.
STEP 2: Reset or Remove the Popped Nail
That first step sets the stage. Now, drive the popped nail back in with a hammer and nail set, sinking it slightly below the surface. If the nail is too loose to hold, pull it out with pliers and rely on the new screw you just placed. Either way, the nail is no longer the primary fastener.
STEP 3: Apply Joint Compound Over Both Spots
Now that the first pieces are in place, spread a thin layer of lightweight joint compound over the screw dimple and the nail pop using a 4-6 inch drywall knife. Feather the edges smoothly. Let dry completely — usually 1-2 hours for a thin coat.
STEP 4: Sand Smooth
To strengthen your results even more, sand the dried compound lightly with 120-grit sandpaper until the patch is perfectly flush with the surrounding wall. Run your hand over it to feel for any ridges. Apply a second thin coat of compound if needed and sand again after drying.
STEP 5: Prime and Paint
To lock in your results for the long term, apply a coat of primer over the patched area to seal the compound and prevent it from showing through the paint as a dull spot. Once dry, touch up with matching wall paint. Two light coats of paint blend the repair invisibly.
PRO TIPS
Q: What causes nail pops in drywall?
A: Always add a new drywall screw before dealing with the popped nail. The pop happened because the nail lost its grip — pushing it back in without adding a screw means it will pop again within months.
Q: How do I fix nail pops in new construction?
A: Use a drywall dimple bit on your drill. It drives the screw to exactly the right depth every time — just below the surface without breaking the paper. Over-driven screws tear the paper and lose holding power.
Q: Do I need to add a screw before fixing a nail pop?
A: If nail pops are appearing all over a new house, this is normal settling. Wait 12-18 months for the framing lumber to finish drying and shifting, fix all the pops at once, then repaint. Fixing them one at a time is a losing battle during the settling period.
SUPPLIES NEEDED
1-1/4 inch drywall screws
Drill or screwdriver
Hammer and nail set
Lightweight joint compound
4-6 inch drywall knife
120-grit sandpaper
Primer and matching paint
Products from Amazon

This site contains affiliate links. As an Amazon Associate I earn from qualifying purchases.