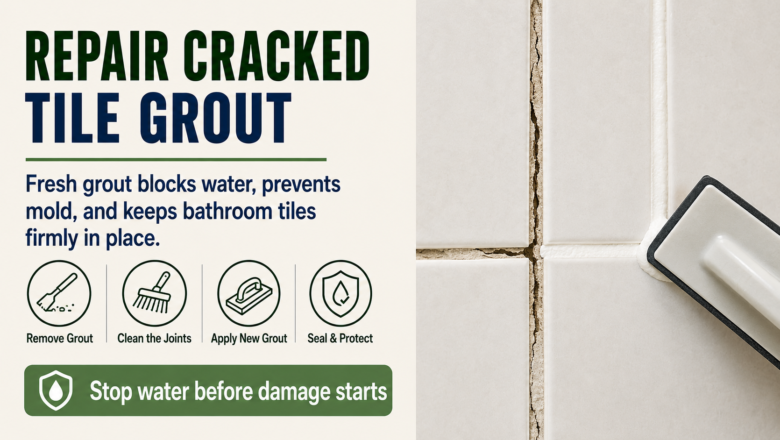
Cracked or missing grout lets water seep behind tiles, causing mold, loose tiles, and structural damage. Regrouting is one of the most impactful bathroom maintenance tasks you can do.
STEP 1: Remove the Old Damaged Grout
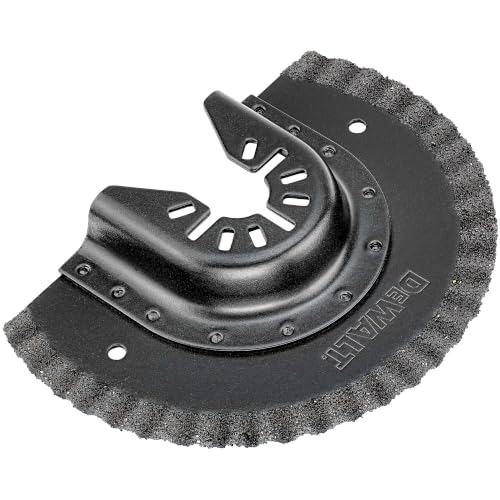
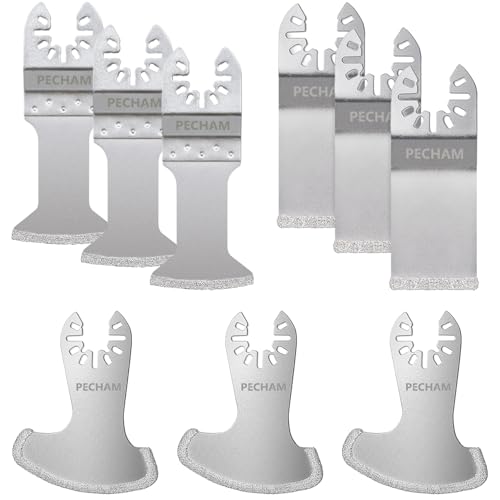
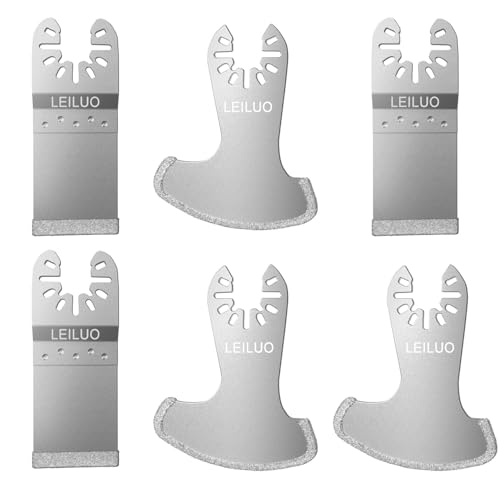
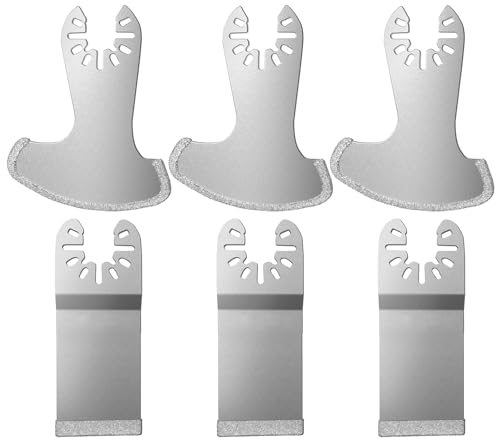
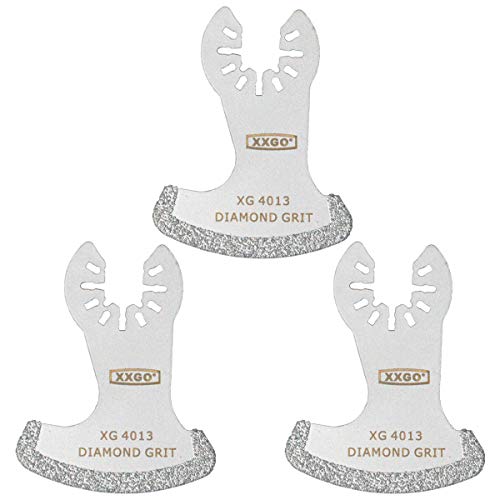
Use a grout saw or oscillating tool with a grout removal blade to scrape out cracked, crumbling, or stained grout to a depth of at least 1/8 inch. Work carefully to avoid chipping the tile edges. Vacuum out all dust and debris when finished.
STEP 2: Clean the Joints Thoroughly
Building on that preparation, wipe the empty joints with a damp sponge to remove remaining dust and loose material. Let the joints dry completely — grout will not bond to wet surfaces. In shower areas, allow 24 hours of drying time if the area has been recently wet.
STEP 3: Mix and Apply New Grout
Moving forward with confidence, mix sanded grout for joints wider than 1/8 inch or unsanded grout for narrow joints. Spread the grout diagonally across the joints with a rubber grout float, pressing firmly to pack the grout deep into each joint. Work in small 3-4 square foot sections.
STEP 4: Clean Excess Grout Before It Dries
Taking this a step further, wait 15-20 minutes until the grout begins to firm up, then wipe the tile surface with a damp sponge in circular motions. Rinse the sponge frequently. Remove all haze from the tile surface but do not dig grout out of the joints. A second wipe after another 30 minutes removes remaining haze.
STEP 5: Seal the Grout After It Cures
To wrap up and ensure lasting results, wait 48-72 hours for the grout to fully cure, then apply a penetrating grout sealer with a small applicator bottle or brush. Sealing prevents water absorption, staining, and mold growth. Reseal annually in wet areas like showers.
PRO TIPS
Q: Can I regrout tile without removing all the old grout?
A: An oscillating multi-tool with a grout blade removes old grout 10 times faster than a hand grout saw and with better control. If you do any regular home maintenance, an oscillating tool is one of the most versatile investments you can make.
Q: What is the difference between sanded and unsanded grout?
A: Color-match your grout carefully — wet grout looks much darker than dry grout. Let a small test batch dry completely before committing to a full application. Most grout manufacturers have online color charts to help match.
Q: Why does my grout keep cracking in the same spot?
A: If grout keeps cracking in the same spot, the tiles may be flexing due to inadequate substrate support. No amount of regrouting fixes a structural flex problem. Consider using caulk instead of grout in corners and where tile meets a different surface — these joints need flexibility, not rigidity.
SUPPLIES NEEDED
Grout saw or oscillating tool with grout blade
Rubber grout float
Sanded or unsanded grout
Grout sealer
Sponge and bucket
Vacuum
Mixing container
Products from Amazon

This site contains affiliate links. As an Amazon Associate I earn from qualifying purchases.