Replacing worn, damaged, or outdated door trim gives the entire room a fresh look. It is one of the most noticeable cosmetic upgrades in a home and requires only basic tools and a miter saw.
STEP 1: Remove the Old Trim Carefully
Score the paint line where trim meets wall with a utility knife to prevent wall damage. Insert a thin pry bar behind the trim and gently work it off, starting at one end. Pull nails through the back of the trim with pliers rather than pushing them through the front.
STEP 2: Measure and Cut the Head Casing First
With the groundwork laid, measure the width across the top of the door jamb and add the reveal (typically 1/4 inch on each side) plus the trim width on each end. Cut 45-degree miters on each end so the angled cuts face outward. Hold the piece in position and mark the exact length before committing to the final cut.
STEP 3: Cut the Side Casings
This is where things start coming together. measure from the floor to the bottom of the head casing for each side. Cut a 45-degree miter on the top end to meet the head casing and a square cut on the bottom where the trim meets the floor. Test fit each piece against the installed head casing before nailing.
STEP 4: Nail the Trim in Place
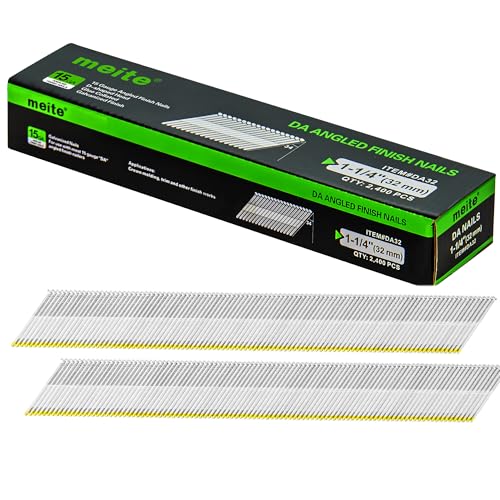
Almost there — this step refines the details. attach trim with 2-inch finish nails or a brad nailer. Nail into both the jamb edge and the wall stud behind the drywall for a secure hold. Space nails every 12-16 inches. At the miter joints, drive a nail horizontally through the joint to lock the two pieces together tightly.
STEP 5: Fill Nail Holes and Caulk the Gaps
The finishing touch makes all the difference. set nail heads below the surface with a nail set. Fill each hole with lightweight spackling or wood filler, let dry, and sand flush. Caulk the seam where trim meets the wall with paintable caulk. Prime and paint the new trim to match.
PRO TIPS
Q: Can I replace door trim without a miter saw?
A: If your miter cuts leave small gaps at the corners, do not re-cut — fill them with wood filler and sand smooth. Even professional carpenters fill miter gaps. A perfect invisible miter on every joint is unrealistic in most homes because walls and frames are rarely perfectly square.
Q: How do I fix gaps in door trim miter joints?
A: A power miter saw makes this job dramatically faster and more accurate than a hand miter box. If you do not own one, most home centers rent them for about $40-50 per day. One day is plenty for trimming every door in a house.
Q: Should I pre-paint door trim before installing?
A: Pre-prime trim pieces before installation — it is much faster to prime long boards on sawhorses than to cut in primer around installed trim. You still need to do a finish coat after installation but the prep work is cut in half.
SUPPLIES NEEDED
Pre-primed door casing trim
Miter saw or miter box
Brad nailer or finish nails
Hammer and nail set
Wood filler or spackling
Paintable caulk
Sandpaper
Primer and paint
Tape measure and pencil
Products from Amazon

This site contains affiliate links. As an Amazon Associate I earn from qualifying purchases.