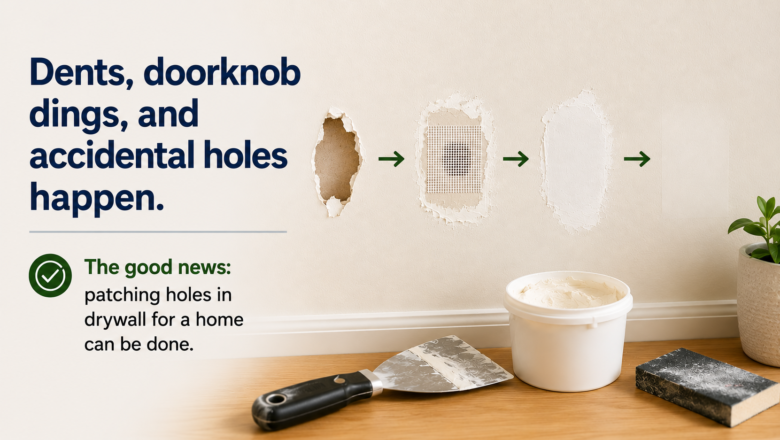
Patching and painting a drywall hole is one of the most common home repairs — and one of the easiest to do yourself once you know the technique. Whether it is a doorknob punch-through, an anchor hole, or damage from moving furniture, a clean drywall patch takes about 30 minutes of active work and dries overnight to an invisible repair. Learning how to patch drywall saves $150-300 per call versus hiring a handyman for a job that requires only basic tools and inexpensive materials.
STEP 1: Assess the Hole Size and Choose Your Repair Method
Small nail holes and screw holes under 1/2 inch need only lightweight spackle and a putty knife — no patch required. Medium holes from 1/2 inch to 4 inches need a self-adhesive mesh drywall patch placed over the hole before applying joint compound. Large holes over 4 inches require cutting a piece of drywall to fit, securing it with a backer board or California patch method, and then taping and mudding the seams.
STEP 2: Prepare the Area for a Clean Repair
With your repair method selected, prepare the damaged area. For small holes, simply clean out any loose debris. For medium holes, sand the area lightly around the edges so the mesh patch adheres flat to the wall. For large holes, use a drywall saw to cut the damaged area into a clean rectangle — a square patch over a rectangular cutout is much easier to finish seamlessly than patching an irregular shape.
STEP 3: Apply the Patch and First Coat of Joint Compound
Now apply the repair material. Press the mesh patch firmly over medium holes. For large holes, secure the new drywall piece with screws into the backer board. Spread a thin layer of joint compound over the entire repair area with a 6-inch putty knife, extending 2-3 inches beyond the patch edges. Feather the edges by applying less pressure at the outer boundary so the compound blends into the existing wall.
STEP 4: Sand Smooth and Apply a Second Coat
Almost there — this step refines the details. after the first coat dries completely (usually 24 hours for joint compound, 1-2 hours for spackle), sand the surface smooth with 120-grit sandpaper. Run your hand across the repair — it should feel flush with the surrounding wall with no ridges. Apply a second thin coat of compound, feathering wider than the first coat. Sand again after drying. Most repairs need two coats; deep repairs may need three.
STEP 5: Prime and Paint for an Invisible Finish
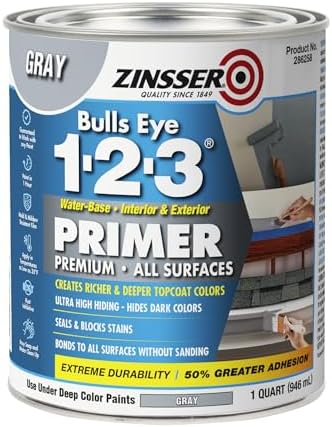
To complete the repair invisibly, prime the patched area with a quality primer before painting. Unprimed spackle and joint compound absorb paint differently than the surrounding wall, creating a visible dull spot called flashing. Apply primer, let it dry, then paint the entire wall section — not just the patch — with your matching wall color for a seamless result that nobody will notice.
PRO TIPS
Q: What is the best way to fix a large hole in drywall?
A: For holes larger than 4 inches, the California patch method produces the strongest, most seamless repair. Cut a piece of new drywall 2 inches larger than the hole on all sides. Score the back and snap off the gypsum, leaving the front paper face as an attached flap. Apply joint compound around the hole, press the patch in with the paper flaps overlapping the wall surface, and smooth compound over the top. This eliminates the need for a separate backer board.
Q: How long does drywall compound take to dry before I can paint?
A: Lightweight spackle dries in 1-2 hours for small repairs. Standard joint compound takes 24 hours per coat to dry completely. Do not rush drying by painting over damp compound — it shrinks as it dries and creates visible cracking under the paint. Fans and dehumidifiers speed drying but patience produces the best results.
Q: Why does my drywall patch show through the paint?
A: The most common cause is skipping the primer. Patched areas absorb paint differently than the surrounding wall, creating a visible flat spot called flashing. Always prime the patched area before painting, and paint the entire wall section rather than just spot-painting the repair for a truly invisible finish.
SUPPLIES NEEDED
Lightweight spackle or joint compound
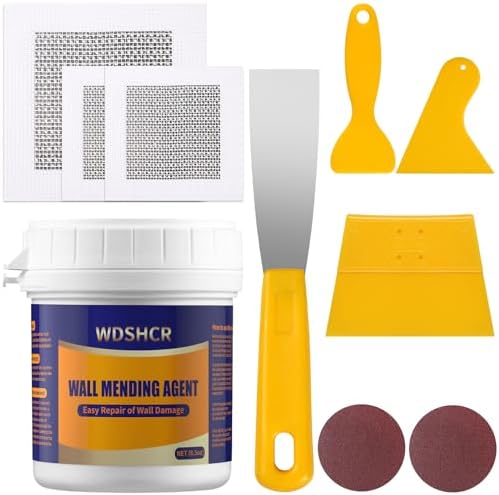
Self-adhesive mesh drywall patch (for medium holes)
Putty knife (6-inch)
120-grit sandpaper
Primer and matching wall paint
Paint roller or brush
Products from Amazon

This site contains affiliate links. As an Amazon Associate I earn from qualifying purchases.