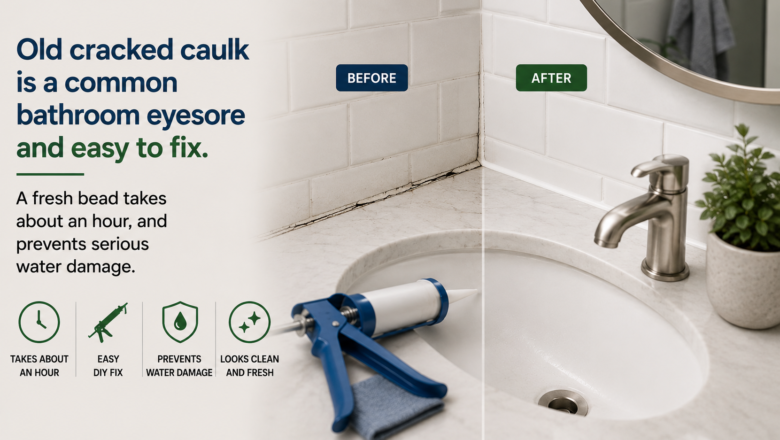
Caulking a sink, bathtub or shower is the thin waterproof seal that prevents water from seeping behind walls, under floors, and into the structure of your home — where it causes hidden mold, wood rot, and thousands of dollars in damage. Replacing old cracked or moldy caulk takes about 45 minutes and costs under $10, making it one of the highest-value maintenance tasks in your entire home. Learning how to caulk a bathtub properly keeps your bathroom watertight and prevents the kind of invisible moisture damage that leads to expensive bathroom renovations.
STEP 1: Remove All the Old Caulk Completely
Before applying new caulk, every trace of the old caulk must come out. Use a caulk removal tool, a razor scraper, or a utility knife to cut and peel away the existing caulk from the joint where the tub meets the wall or the shower pan meets the surround. Apply a caulk softener product for stubborn silicone caulk that resists scraping. Any old caulk left behind prevents the new caulk from bonding properly.
STEP 2: Clean and Dry the Joint Thoroughly
With the old caulk removed, clean the joint surfaces with rubbing alcohol or a mildew-killing cleaner to eliminate soap residue, mold spores, and oils that prevent adhesion. Dry the area completely — caulk will not bond to wet surfaces. If you cleaned with a bleach-based product, allow 24 hours of drying time before applying new caulk for the strongest bond.
STEP 3: Apply Painter’s Tape for Clean, Straight Lines
Moving forward with confidence, this step separates a professional-looking caulk job from an amateur one. Apply painter’s tape along both sides of the joint, leaving a gap of about 1/4 inch for the caulk bead. The tape creates perfectly straight edges and prevents caulk from smearing onto the tub and tile surfaces where it does not belong.
STEP 4: Apply the Caulk in a Single Continuous Bead
This step ties the earlier work together. cut the caulk tube tip at a 45-degree angle to create a small opening — start small because you can always cut larger. Hold the tube at a 45-degree angle to the joint and squeeze with steady, even pressure while moving along the joint in one continuous motion. Do not stop and restart — breaks in the bead create weak spots where water penetrates.
STEP 5: Smooth the Bead and Remove the Tape Immediately
With everything else in place, the final step is wet your finger with rubbing alcohol or plain water and run it along the caulk bead in one smooth motion to press the caulk into the joint and create a concave profile. Remove the painter’s tape immediately while the caulk is still wet — pulling tape from dried caulk tears the bead and ruins the finish. Allow the caulk to cure for 24 hours before using the shower or tub.
PRO TIPS
Q: What type of caulk should I use for a bathtub or shower?
A: Use 100% silicone caulk for all bathtub and shower applications — it is waterproof, flexible, and mold-resistant. Do not use acrylic latex caulk in wet areas — it absorbs water over time and develops mold. Look for caulk labeled kitchen and bath or tub and tile with built-in mildew resistance. Clear silicone works with any color; white matches most tubs and tile.
Q: How often should I recaulk my bathtub or shower?
A: Inspect your caulk every 6 months for cracks, gaps, peeling, or mold growth. Well-applied silicone caulk typically lasts 5-10 years before it needs replacement. If you see any separation between the caulk and the surface, dark mold growing within the caulk line, or the caulk feels soft and pulls away easily, it is time to recaulk.
Q: Why does my new caulk keep peeling off?
A: The most common cause is applying new caulk over old caulk or onto a dirty, wet surface. New caulk must bond directly to clean, dry tub and tile surfaces — not to residue, soap scum, or remnants of old caulk. Complete removal of the old caulk and thorough cleaning with rubbing alcohol before application ensures a strong, lasting bond.
SUPPLIES NEEDED
100% silicone caulk (kitchen and bath formula)
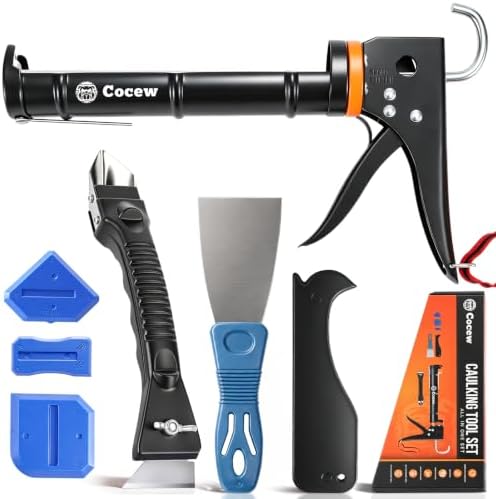
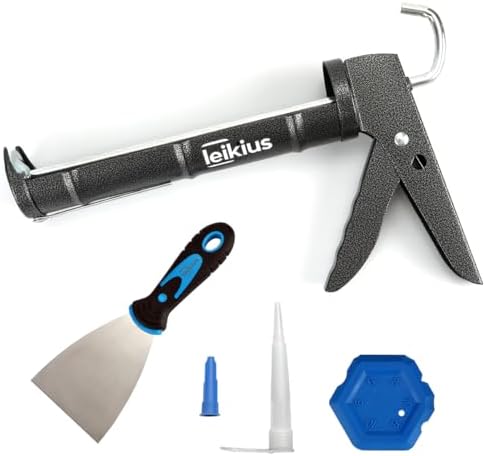
Caulk gun
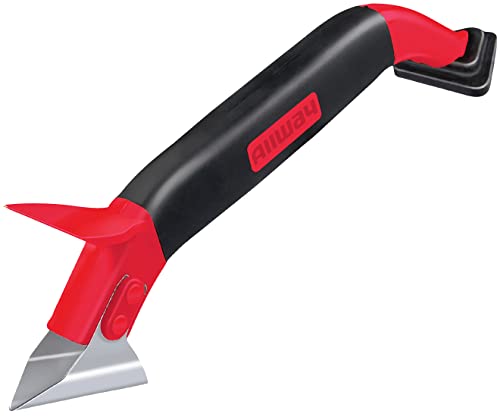
Caulk removal tool or utility knife
Rubbing alcohol for cleaning and smoothing
Painter’s tape for straight lines
Paper towels
24 hours of cure time before water exposure
Products from Amazon

This site contains affiliate links. As an Amazon Associate I earn from qualifying purchases.