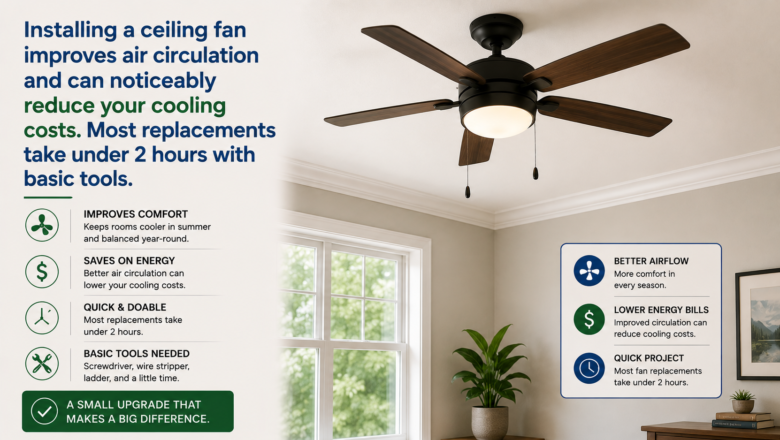
Installing a ceiling fan improves air circulation, reduces heating and cooling costs by up to 15 percent, and adds both function and style to any room. If you are replacing an existing ceiling light fixture, the wiring is already in place and the installation takes 1-2 hours with basic tools. Learning how to install a ceiling fan yourself saves $150-300 in electrician fees and gives you the satisfaction of a functional upgrade that you use every day.
STEP 1: Verify the Ceiling Electrical Box Can Support a Fan
Ceiling fans are heavy and vibrate — they require a fan-rated electrical box secured to a ceiling joist or a fan-rated brace bar spanning between joists. A standard lightweight light fixture box will not safely support a ceiling fan. Check the existing box for a fan-rated label. If it is not rated for a fan, install a fan-rated brace bar kit ($15-20) that fits between ceiling joists through the existing hole — no attic access required.
STEP 2: Turn Off the Power and Remove the Existing Fixture
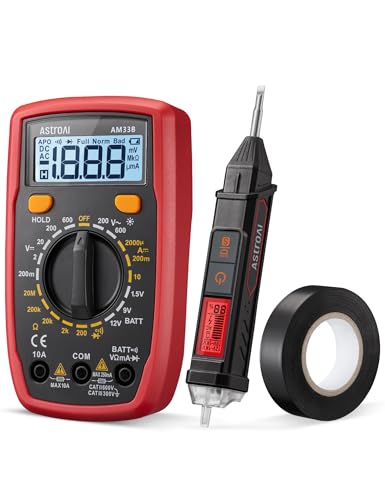
With the electrical box confirmed as fan-rated, turn off the breaker controlling the circuit and verify with a voltage tester. Remove the existing light fixture by unscrewing the mounting hardware and disconnecting the wires. Note the wire colors — black (hot), white (neutral), and bare copper or green (ground).
STEP 3: Assemble the Fan and Mount the Bracket
With those elements ready, most ceiling fans require partial assembly before mounting — attaching blades to the motor housing and connecting internal wiring per the manufacturer’s instructions. Secure the fan mounting bracket to the ceiling electrical box using the provided screws. The bracket is what supports the full weight of the fan.
STEP 4: Connect the Wiring and Hang the Fan Motor
With the main work complete, lift the fan motor assembly and hang it on the mounting bracket’s hook (most fans have a hook that supports the motor while you wire). Connect wires: black to black (hot), white to white (neutral), and green or bare copper to the ground wire. If the fan has a separate light kit, connect the blue wire to the black ceiling wire alongside the fan’s black wire. Secure all connections with wire nuts and tuck into the electrical box.
STEP 5: Attach the Blades, Light Kit, and Test Operation
With the motor securely mounted and wired, attach the fan blades using the provided screws — ensuring each blade is equally tight to prevent wobble. Install the light kit if included. Turn the power back on at the breaker and test all fan speeds and the light. If the fan wobbles, use a balancing kit (usually included) to correct blade weight differences.
PRO TIPS
Q: Can I install a ceiling fan where there is no existing light fixture?
A: Yes, but it requires running new electrical wiring to the location — a job that involves cutting into the ceiling and potentially running wire through the attic. This is more complex and typically requires an electrician unless you are experienced with home electrical work. The easiest installation replaces an existing ceiling light fixture where wiring is already present.
Q: Why does my ceiling fan wobble after installation?
A: Wobbling is caused by blade imbalance — either uneven blade weight or blades mounted at slightly different angles. Tighten all blade screws evenly first. If wobbling persists, use the balancing kit included with most fans (a clip-on weight you move along each blade until the wobble stops). Warped blades from a defective or old fan should be replaced.
Q: What size ceiling fan do I need for my room?
A: For rooms up to 75 square feet, a 29-36 inch fan. For 76-144 square feet, a 36-42 inch fan. For 144-225 square feet, a 44-50 inch fan. For rooms over 225 square feet, a 50-54 inch fan or two fans. The fan should be mounted at least 7 feet above the floor and 18 inches from the nearest wall for optimal air circulation.
SUPPLIES NEEDED
Ceiling fan kit with mounting hardware
Fan-rated electrical box or brace bar kit
Screwdriver (Phillips and flathead)
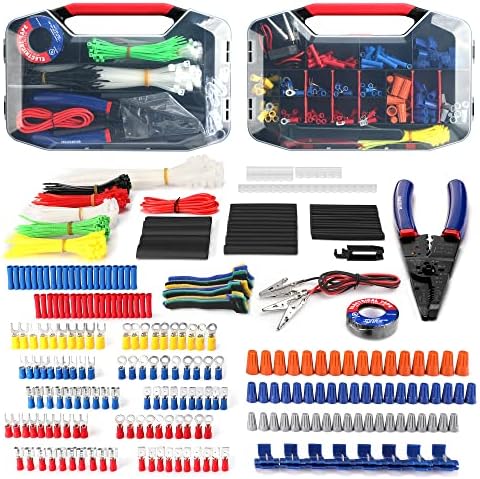
Wire nuts and electrical tape
Non-contact voltage tester
Step ladder (tall enough to reach comfortably)
Adjustable wrench
Products from Amazon

This site contains affiliate links. As an Amazon Associate I earn from qualifying purchases.