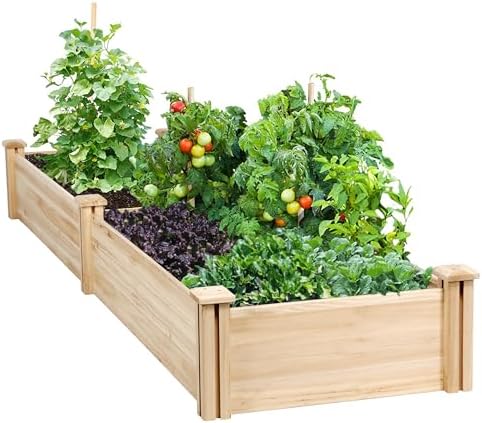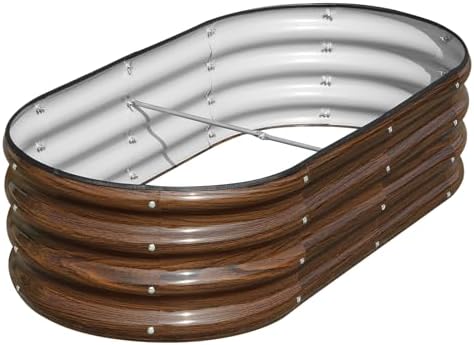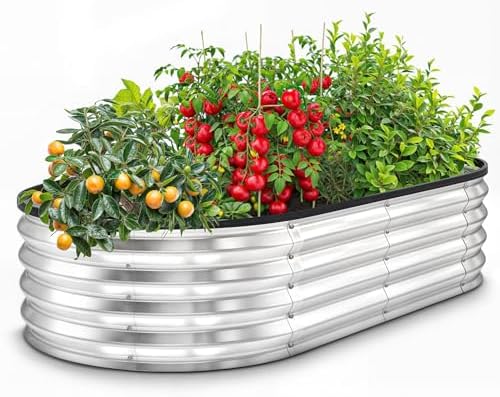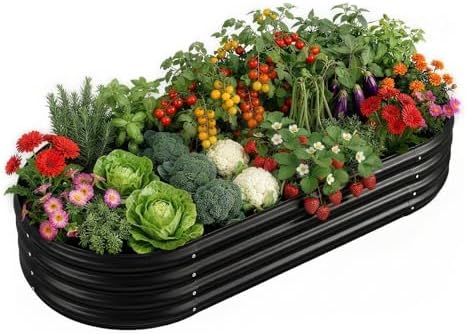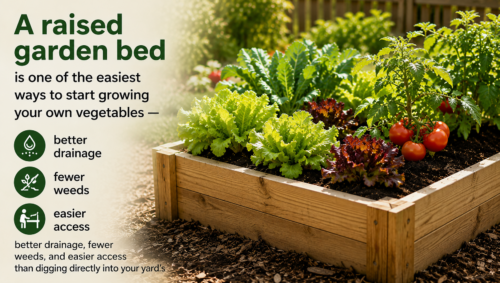
A raised garden bed is one of the easiest ways to start growing your own vegetables — better drainage, fewer weeds, and easier access than digging directly into your yard’s existing soil.
Step 1: Pick a Sunny Spot
Most vegetables need 6–8 hours of direct sunlight daily. Choose a flat, well-drained area of your yard, ideally close to a water source so watering doesn’t become a chore.
Step 2: Assemble the Raised Bed
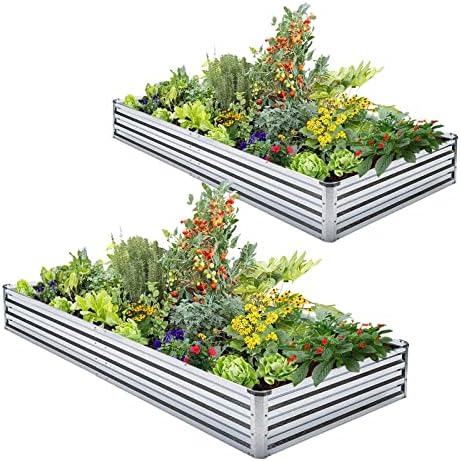
Raised bed kits typically snap or bolt together without tools. Place it directly on the ground (not on pavement) so plant roots can reach down into the earth below.
Step 3: Fill With Soil
Use a blend of quality garden soil and compost — a roughly 60/40 mix gives vegetables the nutrients and drainage they need. Avoid using only topsoil from your yard, which is often too dense for raised beds.
Step 4: Plant Seeds or Starters
For beginners, starter plants (already a few inches tall) are more forgiving than seeds. Space plants according to their tag instructions — overcrowding is the most common first-timer mistake.
Step 5: Water and Maintain
Water deeply 2–3 times a week rather than a little every day, which encourages stronger root growth. Check soil moisture by feeling an inch below the surface before watering.
Pro Tips
Q: What are some easy vegetables for beginners to grow?
A: Lettuce, tomatoes, peppers, and zucchini are all good options.
Q: How can I retain moisture and cut down on weeding?
A: Mulch around your plants.
Q: Should I plant the same thing in the same spot every year?
A: No — rotate what you plant in each spot yearly to keep soil nutrients balanced.
SUPPLIES NEEDED
Raised bed kit — wood, metal, or composite
Garden soil and compost mix
Trowel and hand cultivator
Seeds or starter plants
Watering can or hose with gentle spray
Gardening gloves
Products from Amazon

This site contains affiliate links. As an Amazon Associate I earn from qualifying purchases.