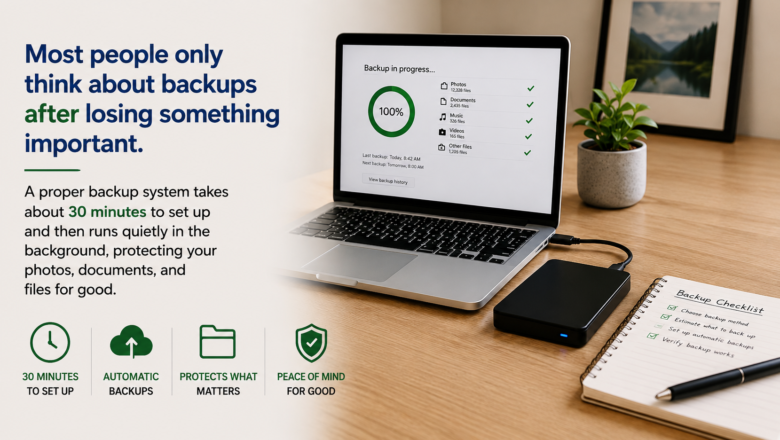
Most people only think about backups after losing something important. A proper backup system takes about 30 minutes to set up and then runs quietly in the background, protecting your photos, documents, and files for good.
Step 1: Follow the 3-2-1 Rule
The standard backup principle is: 3 copies of your data, on 2 different types of storage, with 1 copy stored offsite (like the cloud). This protects you against device failure, theft, and local disasters like fire or flood.
Step 2: Back Up Your Computer Locally
Connect an external hard drive or SSD and use your operating system’s built-in backup tool (Time Machine on Mac, File History or Backup on Windows) to create automatic, scheduled backups.
Step 3: Add a Cloud Backup
A cloud service backs up your files offsite automatically, so even if your external drive is lost or damaged, your data is safe. Most services run quietly in the background once configured.
Step 4: Back Up Your Phone
Enable automatic backup in your phone’s settings (iCloud for iPhone, Google for Android). This typically covers photos, contacts, app data, and messages, and runs overnight while your phone is charging and on Wi-Fi.
Step 5: Test Your Backup
Periodically check that you can actually restore a file from your backup. A backup that’s never been tested isn’t a backup you can fully trust.
Pro Tips
Q: How can I make sure my backups keep running?
A: Set a recurring reminder every few months to confirm they’re still working.
Q: I use more than one external drive — any tips?
A: Label and date each one so you can keep track of them.
Q: Where should I store my backup drive?
A: Not in the same place as your computer. If a laptop gets stolen and the backup drive is sitting right next to it, you lose both at once.
SUPPLIES NEEDED
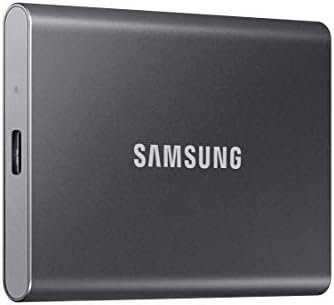
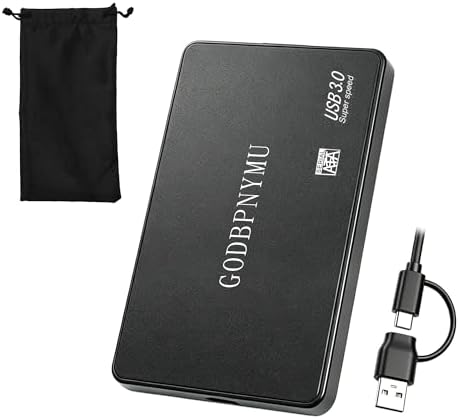
External hard drive or portable SSD
Cloud backup subscription (optional but recommended)
USB-C or USB-A cable depending on your devices
Phone’s built-in backup settings — iCloud or Google account
Products from Amazon

This site contains affiliate links. As an Amazon Associate I earn from qualifying purchases.