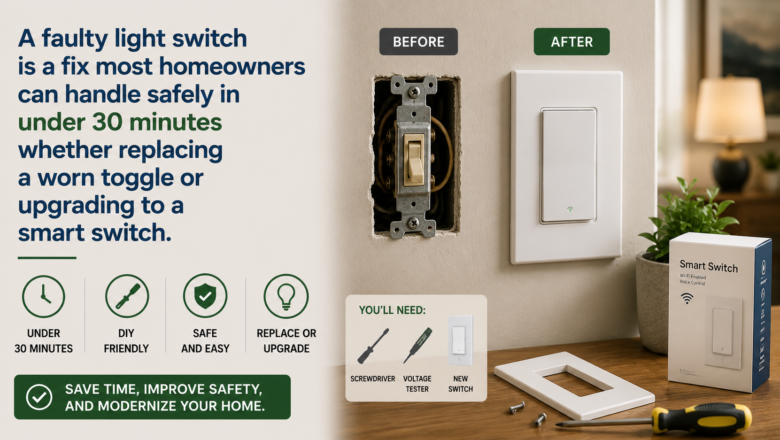
Replacing a light switch is one of the simplest electrical repairs a homeowner can do — and one that makes a noticeable difference in the look and function of a room. Whether you are swapping an old toggle switch for a modern rocker, upgrading to a smart switch, or replacing a broken switch that no longer works, the project takes about 15 minutes and costs $3-15 for the switch itself. Understanding how to replace a light switch safely means always turning off the power at the breaker box first and verifying it is off before touching any wires.
STEP 1: Turn Off the Power at the Breaker Box and Verify
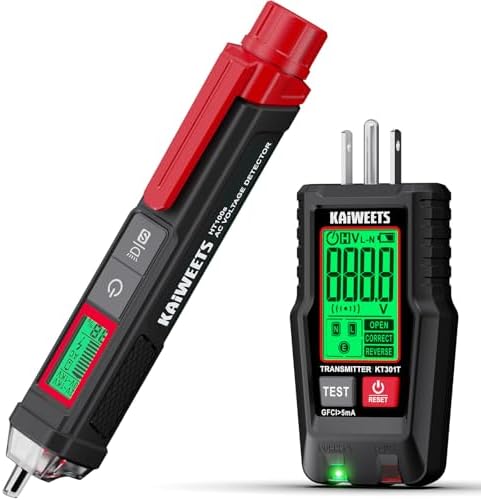
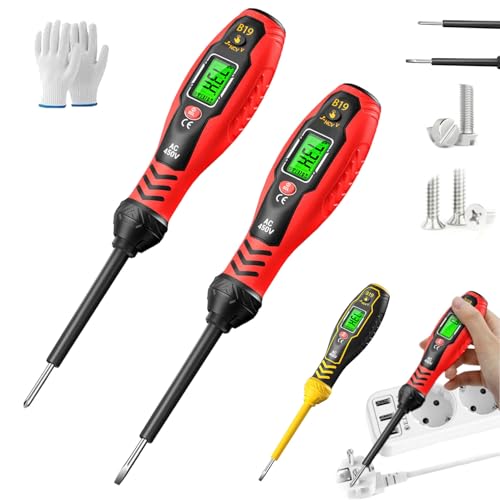
Safety is non-negotiable when working with electrical wiring. Go to your breaker panel and flip the breaker that controls the switch you are replacing. Return to the switch and flip it on and off — if the light does not respond, the power is off. For absolute certainty, use a non-contact voltage tester ($10-15) on the switch wires after removing the cover plate. Never assume the power is off without testing.
STEP 2: Remove the Old Switch and Document the Wiring
With the power confirmed off, remove the cover plate and unscrew the switch from the electrical box. Before disconnecting any wires, take a clear photo of how the wires are connected — this reference is invaluable when wiring the new switch. Note which wire connects to each terminal. Standard single-pole switches have two brass-colored screw terminals for hot wires and a green screw for the ground wire.
STEP 3: Disconnect the Wires From the Old Switch
This is where things start coming together. loosen the terminal screws and unhook the wires from the old switch. If the wires are connected by push-in backstab connections instead of screws, insert a small flathead screwdriver into the release slot to free them. Set the old switch aside.
STEP 4: Connect the Wires to the New Switch
With the main work complete, using your reference photo, connect the wires to the new switch in the same configuration. Wrap each wire clockwise around its terminal screw and tighten firmly — the wire should sit snugly under the screw head with no exposed copper visible beyond the terminal. Connect the ground wire (bare copper or green) to the green ground screw. Screw connections are more reliable than push-in connections and are recommended.
STEP 5: Mount the Switch, Attach the Cover Plate, and Test
To wrap up and ensure lasting results, carefully fold the wires back into the electrical box, screw the new switch into the box, and attach the cover plate. Return to the breaker panel and turn the power back on. Test the switch — the light should turn on and off smoothly. If the switch does not work, turn the power off again and verify the wire connections match your reference photo.
PRO TIPS
Q: Do I need an electrician to replace a light switch?
A: For a standard single-pole switch replacement — one switch controls one light — most homeowners can safely do this themselves in 15 minutes. If you are dealing with three-way switches (two switches control one light), four-way switches, or adding a smart switch that requires a neutral wire, the wiring is more complex and consulting an electrician is reasonable if you are not comfortable with electrical work.
Q: How do I know if my light switch needs a neutral wire?
A: Most smart switches and some dimmer switches require a neutral wire — a white wire in the electrical box. Older homes (pre-1980s) sometimes lack neutral wires in switch boxes. Open the box and look for a white wire connected with wire nuts. If no white wire is present, you need a smart switch specifically designed to work without a neutral wire, or an electrician to run the neutral wire.
Q: Is it safe to replace a light switch myself?
A: Yes, as long as you follow one absolute rule: turn off the power at the breaker before touching anything and verify it is off with a voltage tester. Electrical work with the power off is no more dangerous than any other home repair. Electrical work with the power on is extremely dangerous. The breaker is the safety guarantee — never skip this step.
SUPPLIES NEEDED
New light switch (single-pole, dimmer, or smart switch)
Flathead and Phillips screwdrivers
Non-contact voltage tester ($10-15)
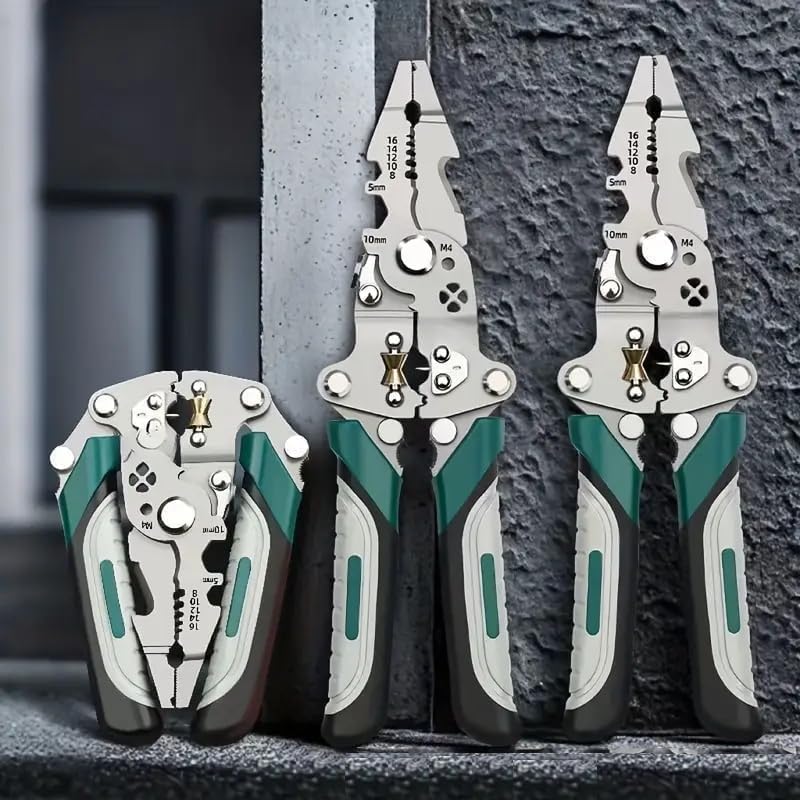
Wire stripper (if wires need trimming)
Electrical tape
Smartphone for wiring reference photo
Products from Amazon

This site contains affiliate links. As an Amazon Associate I earn from qualifying purchases.