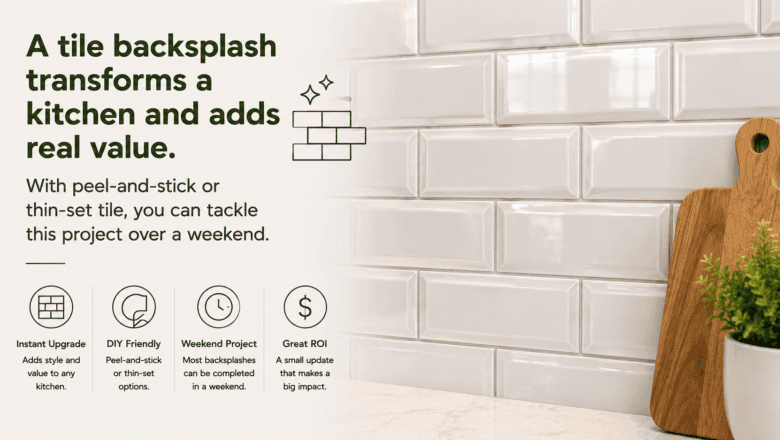
Installing a tile backsplash transforms the look of your kitchen more dramatically than almost any other single upgrade — adding color, texture, and a finished quality that makes the entire space feel intentionally designed. A DIY tile backsplash installation costs $100-300 in materials compared to $800-1,500 for professional installation, and the project is well within reach for a patient beginner willing to spend a weekend on careful preparation and installation.
STEP 1: Plan Your Layout and Purchase Materials
Measure the backsplash area (width × height of each section) and add 10 percent for cuts and waste. Choose your tile — subway tile is the most popular and beginner-friendly because its uniform shape simplifies layout. Purchase thinset mortar, tile spacers, grout, and a grout sealer. Dry-lay a row of tiles on the counter to determine your pattern and identify where cuts will fall.
STEP 2: Prepare the Wall Surface
With materials ready, prepare the wall for maximum adhesion. Clean the wall surface thoroughly and lightly sand any glossy paint so the thinset grips. Mark a level horizontal line at the height of your first row of tiles — this reference line ensures every row above it is perfectly straight. An unlevel first row multiplies its error on every subsequent row.
STEP 3: Apply Thinset and Set the Tiles Starting From the Center
With those elements ready, spread thinset mortar on a small section of wall (about 3-4 square feet at a time) using the flat side of a notched trowel, then comb through it with the notched side to create even ridges. Press each tile firmly into the thinset with a slight twisting motion. Place tile spacers between tiles to maintain consistent grout lines. Work from the center of the wall outward so cut tiles are at the edges where they are less visible.
STEP 4: Cut Tiles to Fit Edges and Outlets
With the main work complete, edge tiles and tiles around electrical outlets need cutting. A manual tile cutter handles straight cuts. A tile nipper handles small notches. A wet saw (available for rent at home improvement stores) handles complex cuts around outlets. Cut tiles should have the cut edge facing into the corner or edge where it is least visible.
STEP 5: Grout the Joints and Seal for Protection
With everything else in place, the final step is after the thinset cures for 24 hours, remove the spacers and apply grout by pressing it into the joints with a rubber grout float held at a 45-degree angle. Wipe excess grout from the tile surface with a damp sponge before it hardens. After the grout cures for 24-72 hours, apply a grout sealer to protect against staining and moisture penetration.
PRO TIPS
Q: What is the easiest type of tile to install for a beginner?
A: Subway tile (3×6 inch) in a standard brick pattern is the most beginner-friendly option. The uniform rectangular shape requires minimal cutting, the brick pattern is forgiving of minor spacing inconsistencies, and subway tile is widely available and affordable at $1-5 per square foot. Peel-and-stick tile is even easier but less durable and does not have the same high-end look.
Q: Do I need to remove the old backsplash before installing new tile?
A: If the old backsplash is flat, smooth, and well-adhered, you can tile over it after roughing the surface with sandpaper for adhesion. If the old surface is uneven, peeling, or textured, removing it first produces a much better result. Tiling over a bad surface creates a bad tile job.
Q: How long does a tile backsplash project actually take?
A: Plan for a full weekend. Day one: preparation and tiling (4-6 hours of active work with drying time). Day two: grouting and sealing (2-3 hours). The thinset needs 24 hours to cure between tiling and grouting, which is why the project spans two days even though the total active work time is 6-9 hours.
SUPPLIES NEEDED
Tile (add 10% extra for cuts and waste)
Thinset mortar and notched trowel
Tile spacers
Grout and rubber grout float
Grout sealer
Level and tape measure
Tile cutter, tile nippers, or wet saw
Sponge and bucket for grout cleanup
Products from Amazon

This site contains affiliate links. As an Amazon Associate I earn from qualifying purchases.