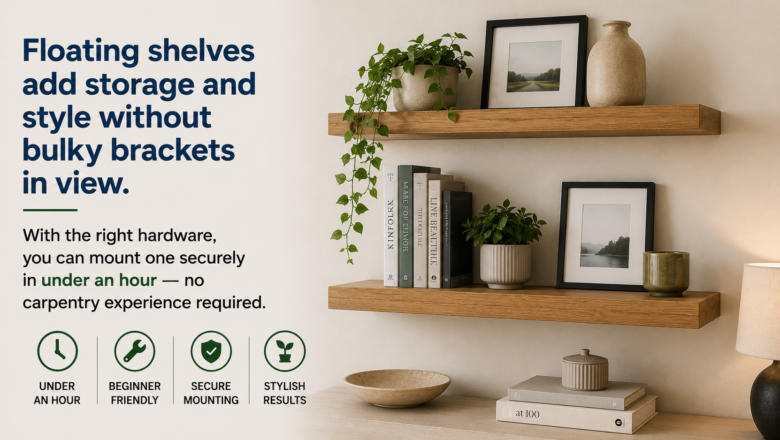
A floating shelf mounts flush against the wall with no visible brackets — creating a clean, modern look that displays books, plants, photos, or decorative items without the visual clutter of traditional shelving. Building and installing a floating shelf is a beginner-friendly woodworking project that takes about an hour and costs $15-30 in materials. Understanding how to build a floating shelf that is both attractive and structurally sound means knowing where to anchor into wall studs so the shelf holds real weight without pulling out of the wall.
STEP 1: Determine the Shelf Size and Find Your Wall Studs
Decide on the length, depth, and location for your shelf. Standard floating shelves are 24-36 inches long and 6-8 inches deep. Use a stud finder to locate wall studs — the shelf must be anchored into at least two studs to support weight safely. Mark the stud locations with painter’s tape and use a level to mark a perfectly horizontal line where the shelf will sit.
STEP 2: Build or Buy the Shelf and Mounting Bracket
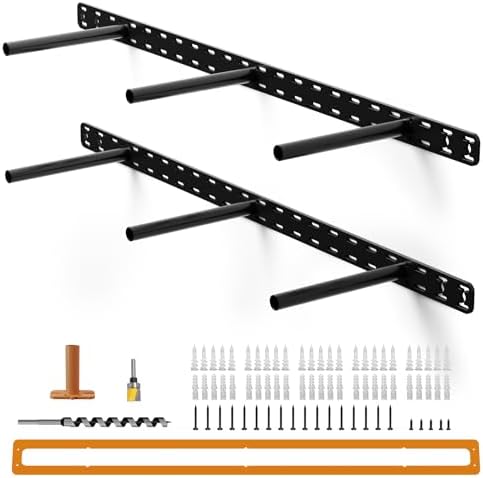
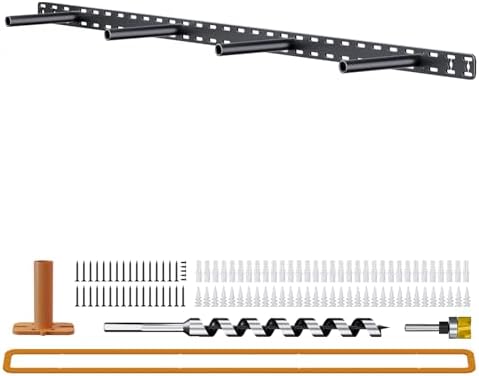
With your measurements set, you have two options. A store-bought floating shelf kit includes the shelf and a hidden bracket for $20-50. For a custom build, construct a simple bracket from a 1×2 board cut to shelf length and screwed into the studs, then build a hollow shelf box from 1×6 or 1×8 boards that slides over the bracket. The hollow box hides the bracket completely.
STEP 3: Mount the Hidden Bracket Securely Into Wall Studs
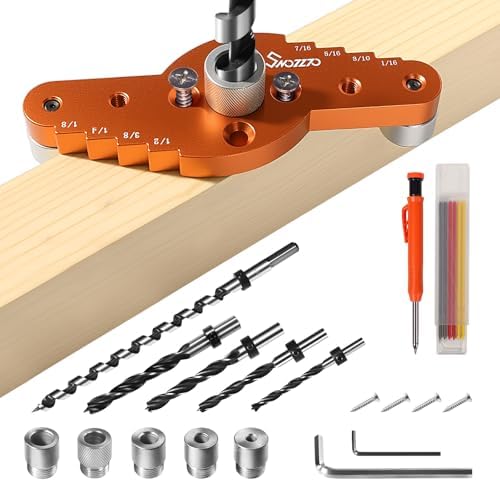
Now that the first pieces are in place, this step determines whether your shelf holds or fails. Drill pilot holes into the marked stud locations, then secure the bracket with 3-inch wood screws driven directly into the studs. Use a level to verify the bracket is perfectly horizontal before tightening all screws. Toggle bolts or heavy-duty wall anchors can supplement between studs but should not be the primary attachment points for shelves that will hold books or heavy items.
STEP 4: Slide the Shelf Over the Bracket and Secure
With the bracket firmly mounted, slide the shelf over it until it sits flush against the wall. Most floating shelf kits include set screws on the underside that tighten against the bracket to lock the shelf in place. For custom builds, a couple of small screws through the bottom of the shelf into the bracket prevents any sliding or wobble.
STEP 5: Fill Any Gaps, Touch Up, and Style Your Shelf
To bring everything together and finish strong, if there is a small gap between the shelf and the wall due to wall irregularities, fill it with paintable caulk for a seamless appearance. Touch up any screw holes with wood filler and paint or stain to match. Now style your shelf — odd numbers of items look best, vary heights for visual interest, and do not overload the shelf beyond its weight rating.
PRO TIPS
Q: How much weight can a floating shelf hold?
A: A floating shelf anchored into two wall studs with 3-inch screws typically holds 30-50 pounds depending on the bracket design and shelf material. Drywall anchors alone support only 10-15 pounds — fine for light decorative items but not for books or heavy objects. Always anchor into studs for shelves that will hold anything with real weight.
Q: Can I install a floating shelf without finding wall studs?
A: You can using heavy-duty toggle bolts or snap toggles rated for 50+ pounds each, but the shelf will hold significantly less weight than one anchored into studs. For lightweight decorative items and small plants, anchor-only installation works. For books, kitchen items, or anything heavy, finding and hitting studs is essential.
Q: What is the best material for a DIY floating shelf?
A: Pine is the most affordable and easiest to work with for painted shelves. Oak and walnut are more expensive but beautiful with a natural stain finish. For the simplest project, a pre-made butcher block shelf blank from a hardware store requires only cutting to length and finishing — no assembly needed.
SUPPLIES NEEDED
Stud finder
Level
Drill and 3-inch wood screws
Floating shelf kit or lumber for custom build
Sandpaper and wood finish (paint or stain)
Paintable caulk for wall gaps
Pencil and measuring tape
Products from Amazon

This site contains affiliate links. As an Amazon Associate I earn from qualifying purchases.